James Schauf is a man of exacting detail, detail you’ve seen, may have not noticed, but detail that added to the richness of the film or product you viewed. James is a Modeling and Texture Artist from Santa Clarita, CA. After serving in the United States Air Force for nine years he followed his dream to become a professional artist. Now, he works across the film, game, and product design industries applying his craft, using KeyShot in various aspects of the visual creation process, and showing others how to do the same as an instructor with The Gnomon Workshop. We had an opportunity to ask him more about his background and how he uses KeyShot.
James Schauf
What sparked your interest in becoming a Model/Texture Artist?
In my pursuit of finding my creative outlet, I was drawn to sculpting. I felt a bit lost how to make that happen. My mind quickly went to the classic artists and the thought came to me that I needed a hammer and chisel. The reality of pounding and chipping away at a large rock just did not seem to be the best approach for a beginner. So, I went to the next best thing–a pocket knife and bar of soap. My thought was if the sculpt turns out horribly, I could always use it in the shower. It wasn’t long before I was the cleanest, best smelling person I knew. Though I did end up with a couple fun soap sculpts, this was a short-lived time in my journey as a traditional sculptor. I knew there had to be something else out there for me. It was by chance that I stumbled upon a very primitive 3D software that sparked and ignited my interest in 3D. I was amazed by the lighting, the reflections, the ability to create characters and props with, literally, primitive shapes. I made the most of what the program had to offer. However, I was still hungry for more. I wanted to make things more realistic and to make things more believable. I continued finding my way through the landscape of CG until I knew that modeling and texturing is where I could get lost and spend countless hours.
What was the turning point in your career?
The biggest turning point in my career was when I made the decision to leave the military after nine years to pursue my dreams of becoming an artist. I was in Kuwait and there was a moment of clarity and self-conviction. Having grown up loving art and winning ‘Most Outstanding Artist’ in High School, I felt like I had given up on that dream. I knew I had to at least try, try to be what I felt I was supposed to be… a professional artist. As for highlights of my career, I would say I’ve not had a “normal” career path. One of the biggest highlights was my first job in the industry–character modeler working Iron Man 2 at Legacy Effects. Since then it’s been an amazing ride. Some other highlights are working at Nickelodeon as a character modeler, at Disney on Big Hero 6 and Moana with the environment team, at Paramount as a Visual Development Artist, as a Modeling Supervisor at Sunrise Production in South Africa, and most recently as a CG Artist at Apple.
What is unique about your approach to a project?
If anything is unique about my approach to a project, it is my belief that everything should tell a story. I believe that it is our job as the artist to tell that story, no matter what area of CG it is. There is so much that can be told in our work–new or old, clean or dirty, the characters, the environment–just to name a few. Once that story is decided, I start by collecting reference images (usually way too many). I do this to reduce the chance of needing to do an internet search while working on the project. We’ve all been there–you start looking for a reference image and two hours later you are watching cat videos on YouTube. So I will narrow down the images and archive the ones that don’t feel right. Then I will organize them into folders. I feel this organization helps me stay focused. I spend a lot of time here, studying the images and mentally prepping myself. If I’m modeling, I break things down to basic shapes and think about topology. If I’m texturing, I break down the textures and their properties. All of this happens before I even get into the actual creation process. This helps me build my confidence, speeds up my workflow, and keeps me hyper-focused on my end goal.
What is your primary 3D modeling software?
My primary modeling software is Maya. I’ve been using Maya for over 10 years. Using it for that long has allowed me to refine my workflow and increase the speed and quality of my modeling. I would say the main reason why Maya is my primary modeling software, is that I believe it is the most used for modeling in the industry. However, I will use whatever software it takes for me to tell my stories through modeling.
Where in the process do you use KeyShot?
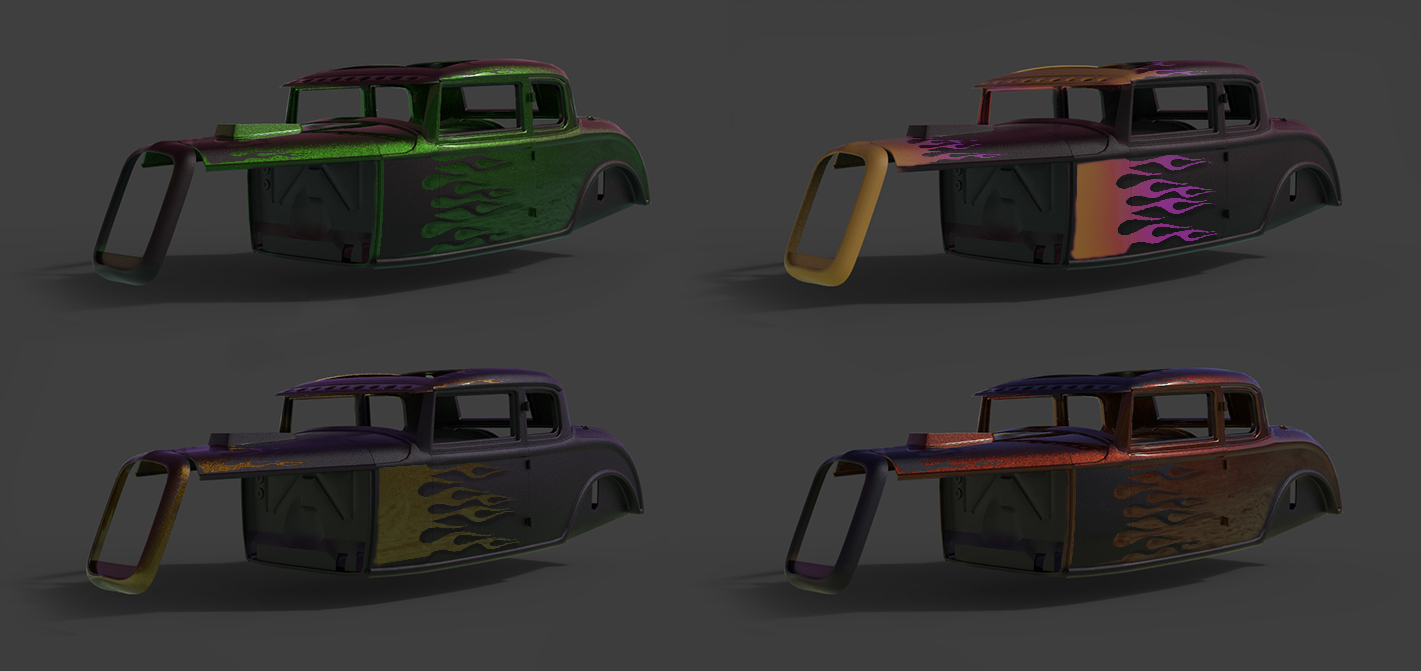
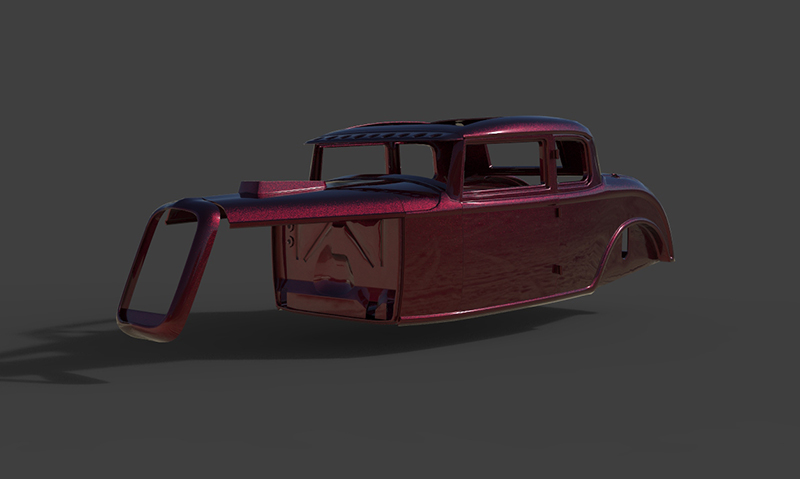
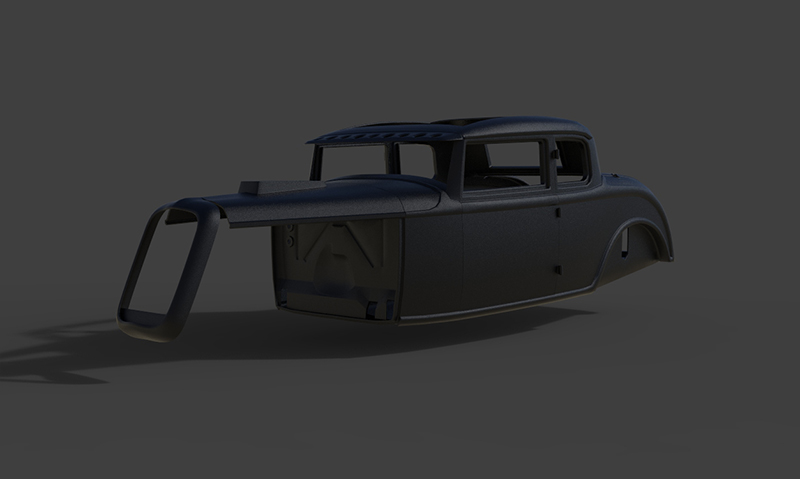
There are several ways I like to use KeyShot in my process. The first is for look development. Upon finishing the modeling, UVing, and assigning material IDs, I’ll use the Maya plugin to send my project over to KeyShot. That’s when I start exploring colors and materials before texturing.
This is going to be the overall foundation for my texturing. I think it’s important to note that I use a studio HDR. I do this to keep the lighting neutral, which allows me to see the true colors of the materials and non-distracting reflection from an environmental HDR. I go a step further and will also start blocking out camera angles for rendering later. I’ll set up a couple different cameras, usually a front 3/4, back 3/4, and any areas that need clarification before moving into texturing. Sometimes I’ll push the renders over to Photoshop for some paintover work. The goal of this process is to clarify my direction for texturing. The next step in my process should be familiar to most. I feel my workflow is direct, but perhaps the following will be helpful to some.
Once texturing is finished and all maps have been exported, I’m back in KeyShot. I will continue to use a Studio HDR for maps and material assignment. I’ll use the KeyShot Material Graph to assign maps to materials. The continued improvements in the Material Graph have allowed for the creation of more complex materials. After this, the fun begins and all the hard work up to this point pays off.
I will move on to decide if I’m going to use a backplate, an HDR or just a color for the background. I think each has its pros and cons, but I like to experiment, do some renders, and then decide which I like best.
When using a backplate, it’s critical that my model match the perspective of the backplate. This is done easily with the Match Perspective tool in KeyShot. Line up the X, Y, and Z axis with corresponding lines of the backplate and it’s just that easy.
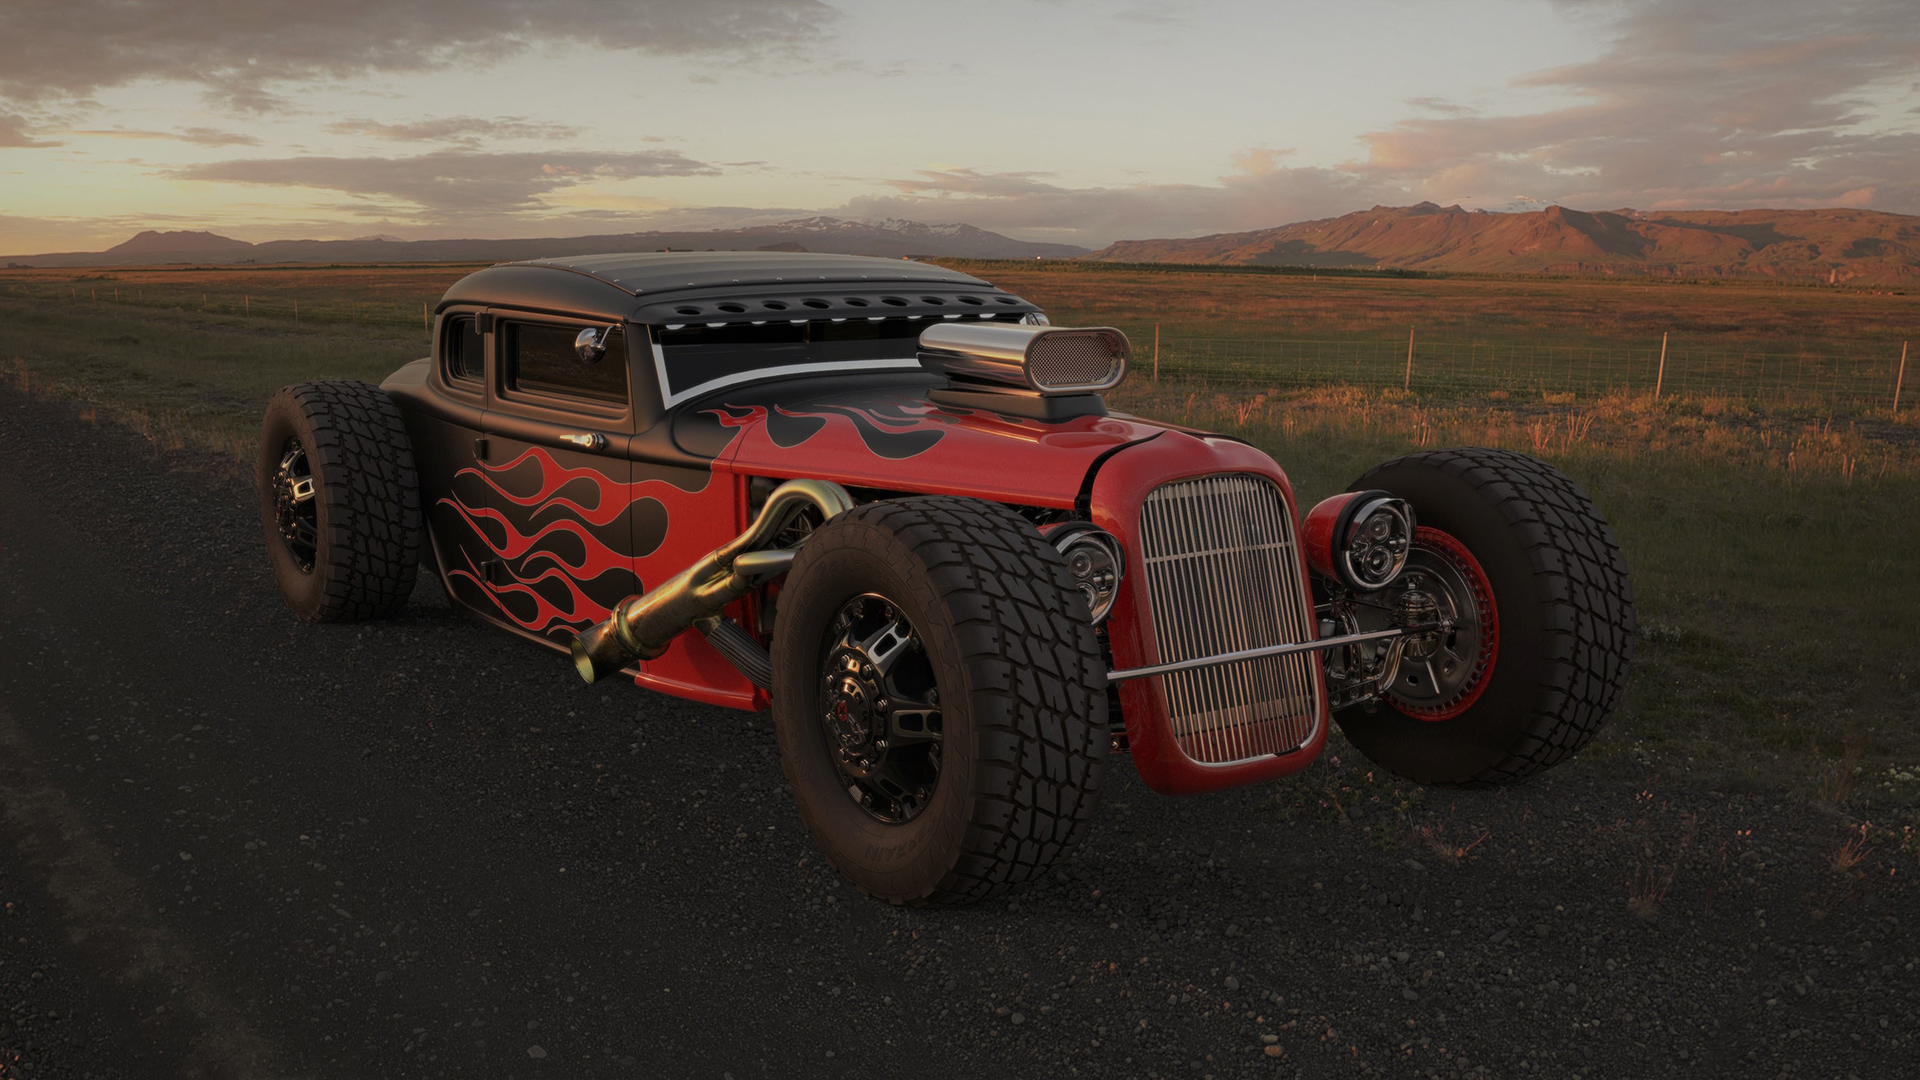
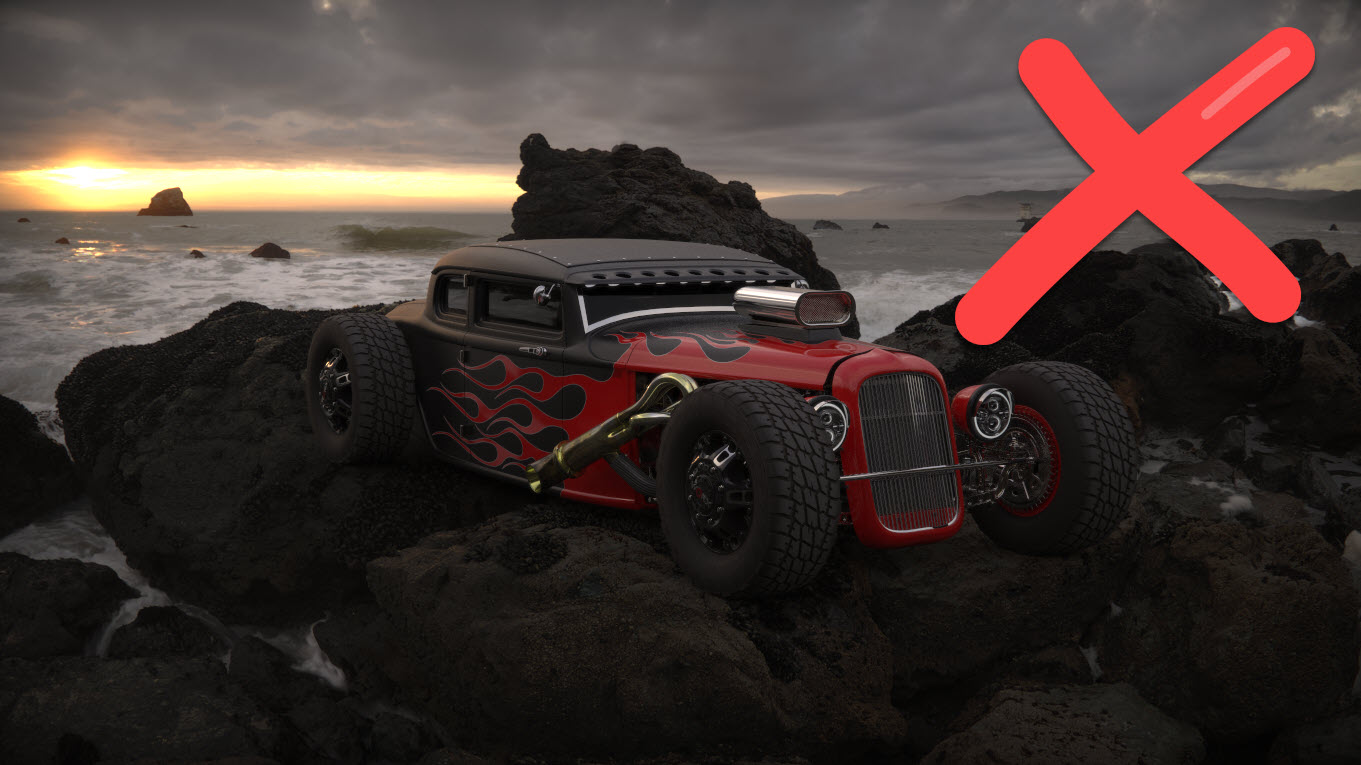
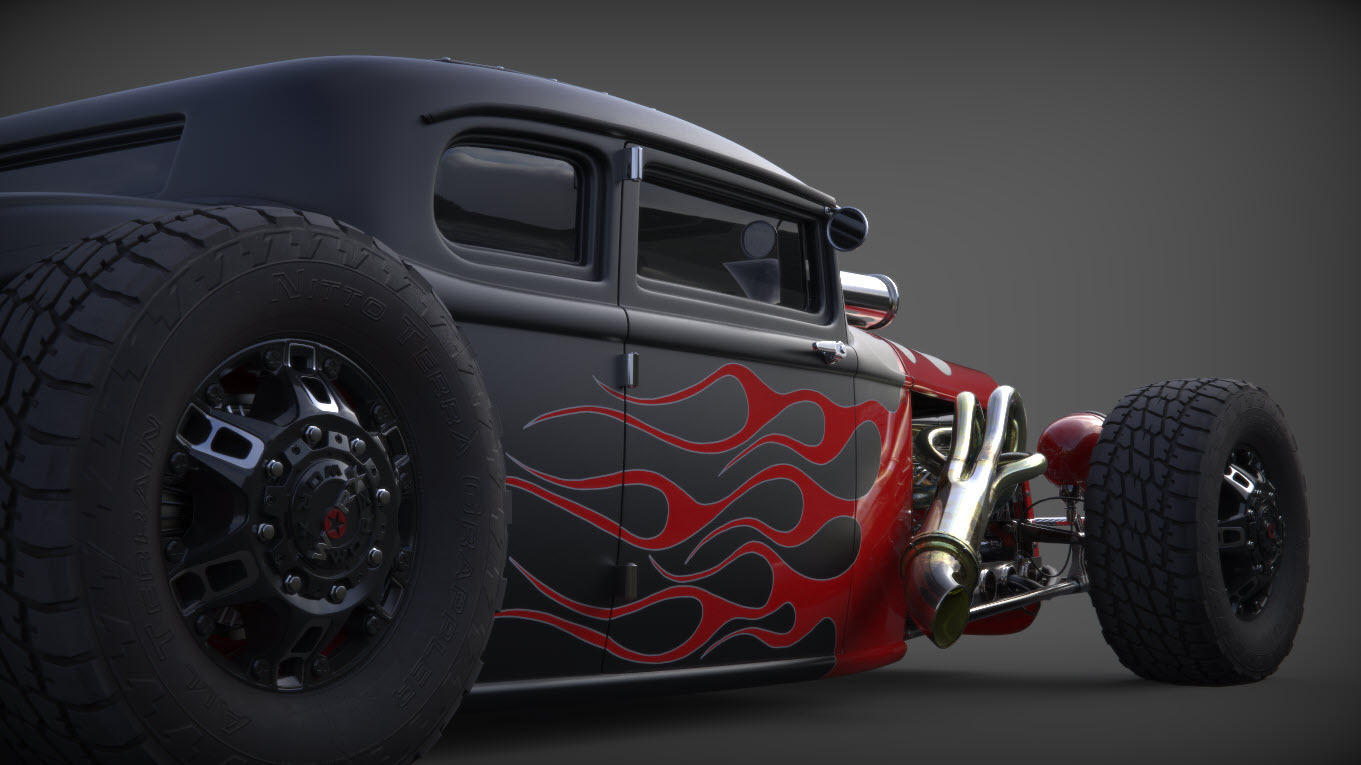
When using an HDR as the background, I’ll focus on the X, Y and Z lines of my model and try to match similar lines on the HDR. It’s not as precise as the backplate method but, with a bit of time, you can get something that looks convincing. Make sure your HDR environment matches your model. By this, I mean your model should look like it would in that environment. For example, I think you can tell the difference here:
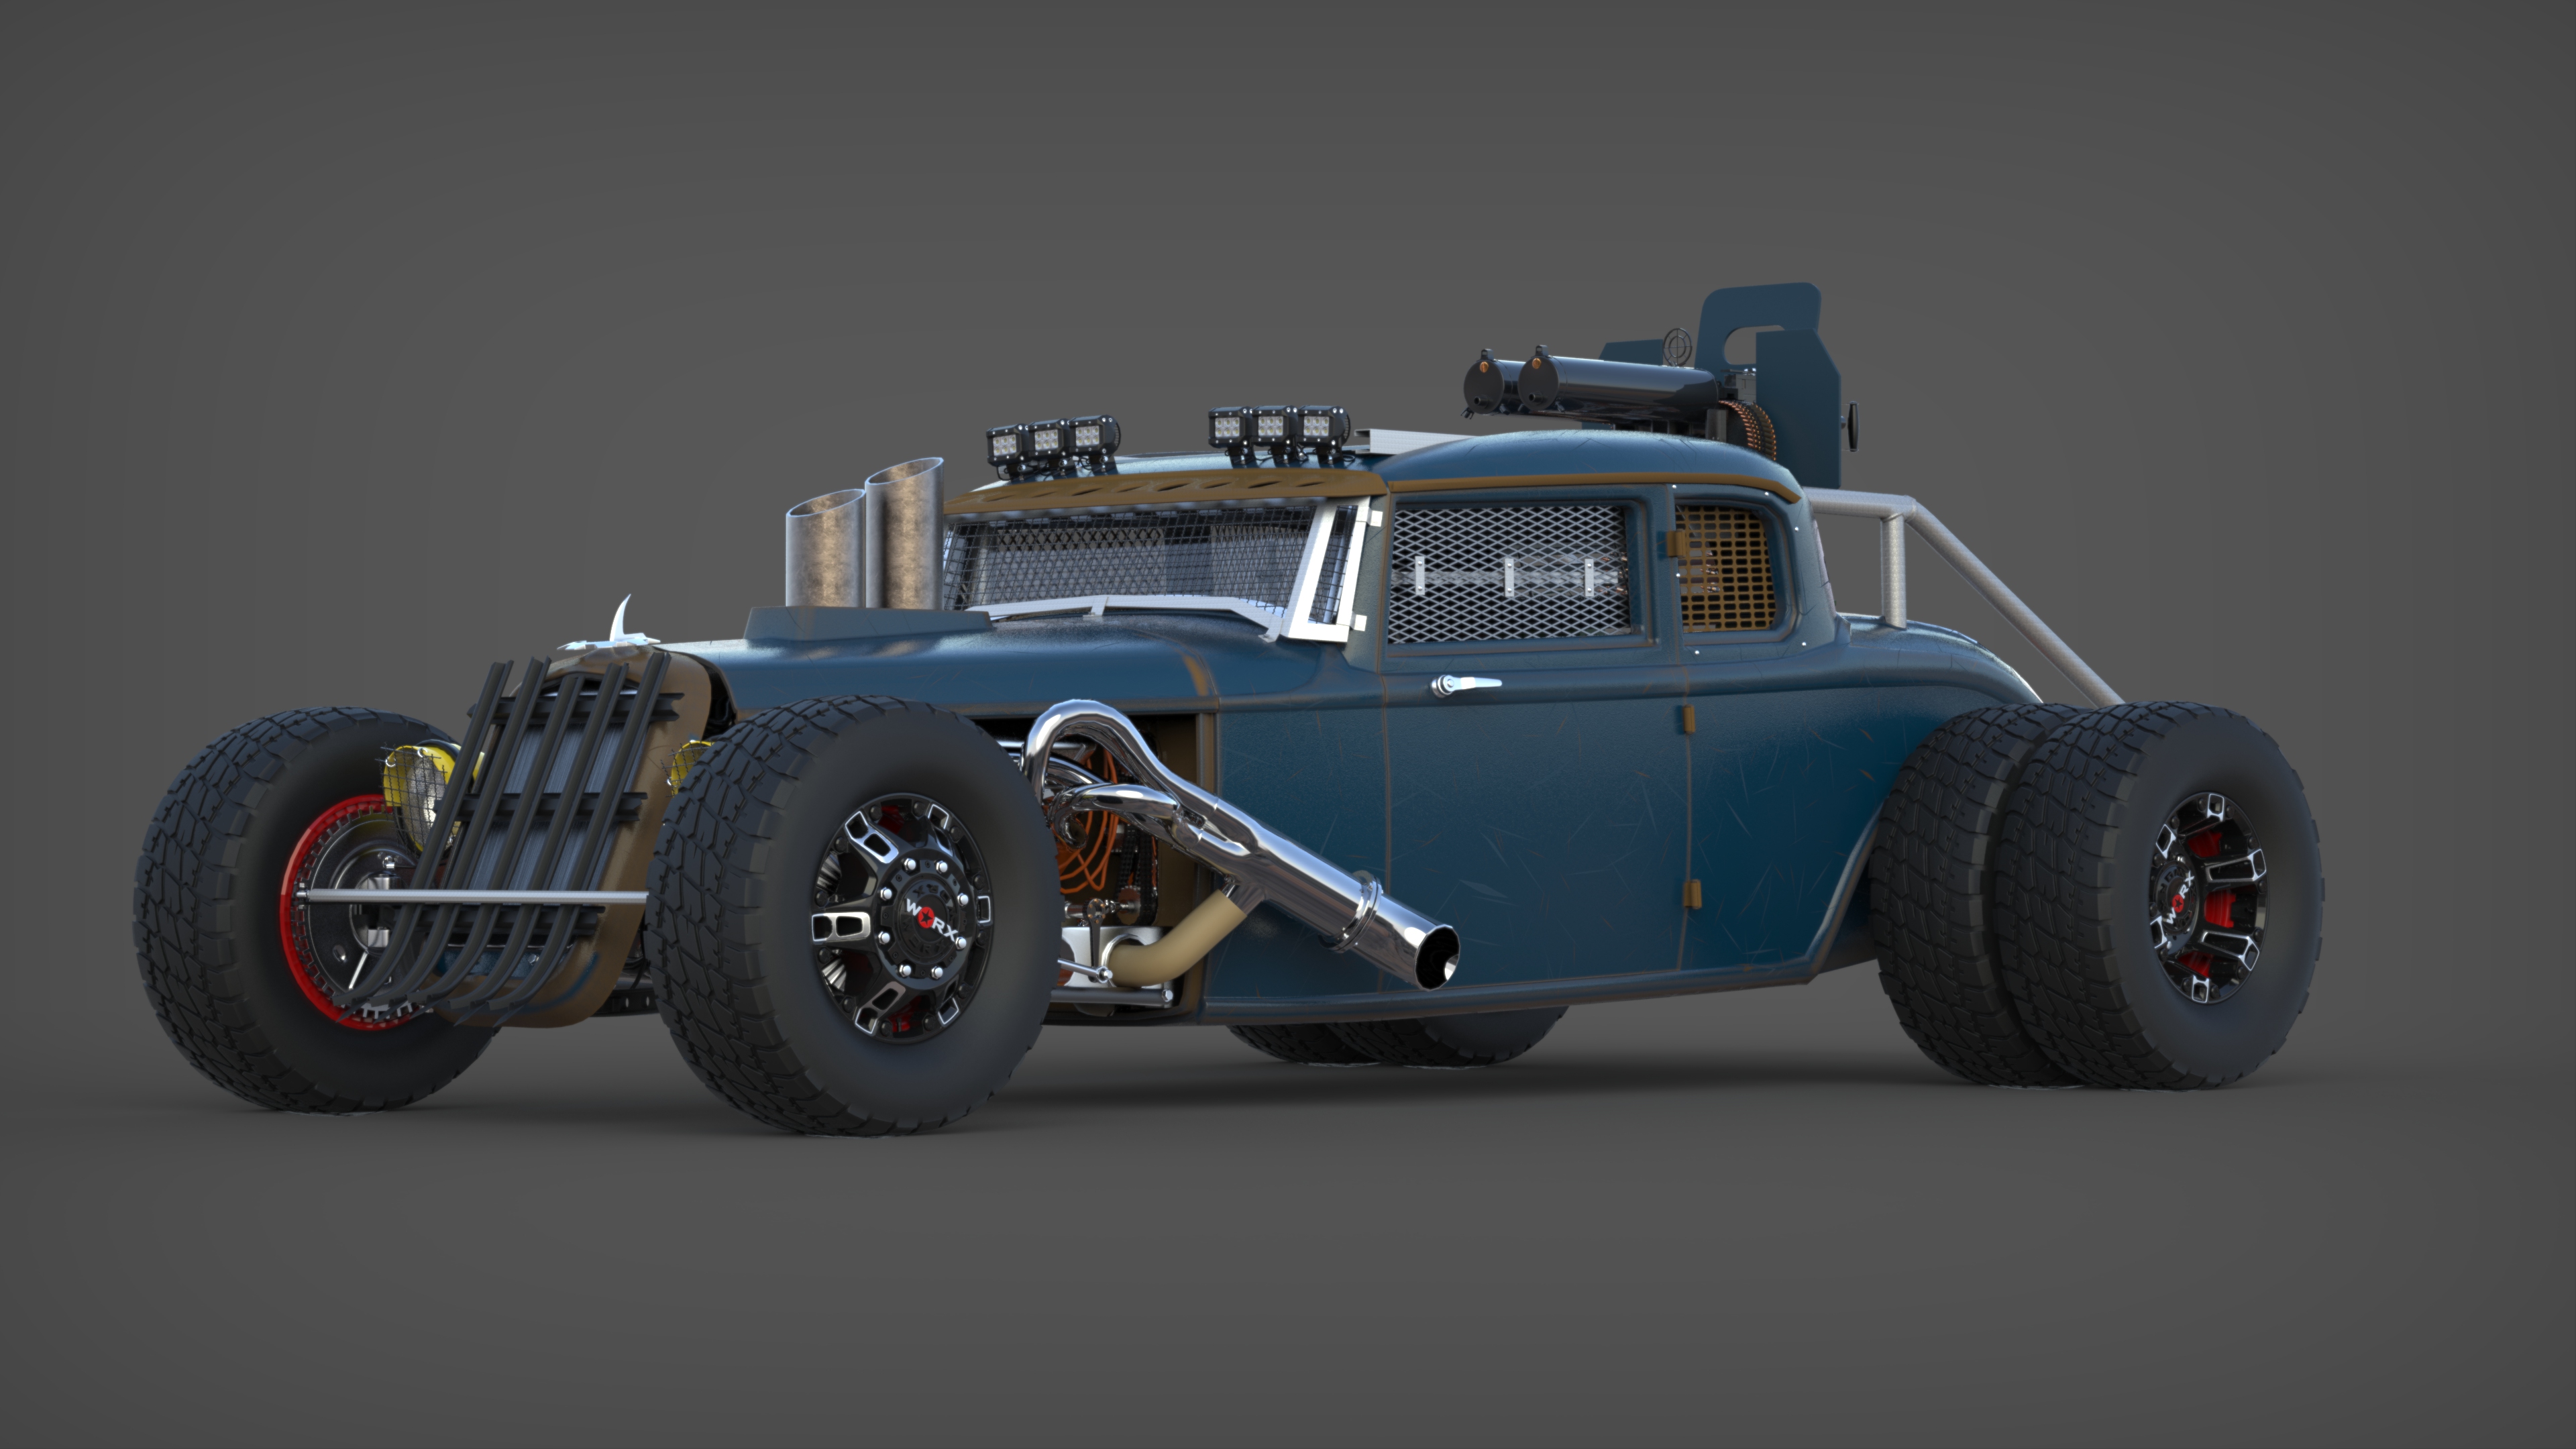
But using a color as the background? This is the easiest of them all and sometimes the best. I think the biggest benefit of a color background is how it helps keep the viewer’s eyes on your work and not distracted by the background. I like to go with a dark grey, as I feel this helps my model stand out from the background.
Now, I make the final tweaks to the HDR lighting by adjusting the brightness, rotation, and scale. During these tweaks, I look at the lit areas of my model and areas that may be too dark. If and when I feel certain areas need a bit more attention, I’ll use the Set Highlight tool in the HDR Editor–a must for product and vehicle rendering in KeyShot. You have ultimate control of that highlight simply by picking the spot on your model where you need the light. Still, it can require some fine-tuning.
For the last step, I create a turntable animation in KeyShot. This is made easily with KeyShot’s Animation Wizard. Just select Turntable, the model to rotate, rotation direction and desired time of rotation. Done.
There’s a lot more I’d like to go into in detail, but this is a brief overview of where KeyShot fits into my process. If you would like to see more and a video walkthrough of my process, visit my latest Gnomon Workshop, Vehicle Texturing In Substance Painter: From Clean to Mean.
What makes KeyShot an important tool to have?
KeyShot has a very small learning curve. I find the UI very user-friendly, the drag-and-drop of materials are awesome, the ability to paste linked materials is time-saving, and the ease of use is great for anyone looking to take their work to a professional level in a very short amount of time. Along with this, it’s amazingly fast–Changes to materials and the HDR are seen instantly. Without a doubt, the reliability is well worth noting. KeyShot is extremely stable even with millions of polys. It has been able to handle everything I’ve thrown at it. My latest project, Night Fire, had over 60 maps (most of them were 2K and the rest 4K).
As an instructor, I demo the ZBrush to KeyShot Bridge in my Digital Sculpting classes. It has become a must for any serious ZBrush user. There’s no more exporting maps and models, just send it directly over using the Bridge. My students are amazed at KeyShot as I do a demo at the end of the term for my Hard Surface Modeling class showing them how easy it is to take a finished model to a final presentation.
Two final thoughts. The quality is outstanding. Everything I see rendered with KeyShot, from products and vehicles to characters and environments, all look amazing. And finally, I greatly value Luxion and their commitment to keep pushing forward and listening to the artist who use KeyShot.
What advice would you give to someone interested in doing what you do?
It is a competitive industry so it’s vital to stay dedicated, stay focused on your goals, and know you will have to make sacrifices. Don’t be afraid to fail, learn from mistakes (your own and others’), stay humble, stay passionate, and above all, never stop learning to become the best artist you can be.


