Skin. It’s porous. It’s also translucent, sometimes smooth and often bumpy. It’s also very challenging to render… but not with KeyShot. Keyshot 2.1 introduced translucent materials that allow real-time subsurface scattering and a fast, simple way to dial in realistic looking skin inside KeyShot. In KeyShot 3 we have a total of 18 translucent materials, including four skin materials to get you on your way. Tiho Ramovic thought he would give it a go, posting his skin tests on the forum. Here, he steps us through the process of applying materials and textures to a female character.
Rendering Realistic Human Skin
Tiho has used KeyShot before, but this was the first time he used the Translucent material to render skin. “This was my first attempt on the skin material in KeyShot 3, I really didn’t expect it to come out as good as it did (judging by the reactions of fellow forum members), since the details of the skin (pores and makeup) were bump and color textures.”
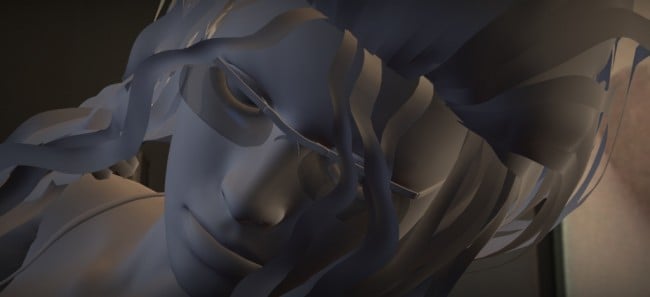
The 3D geometry was created in DAZ Studio 4 and exported in .obj format along with textures for skin and hair. This is what the model looks like before any textures are applied in KeyShot:
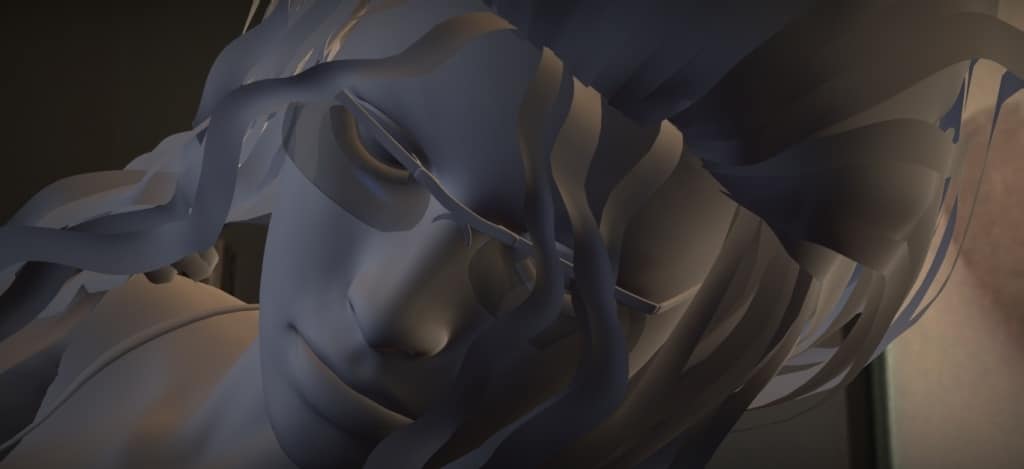
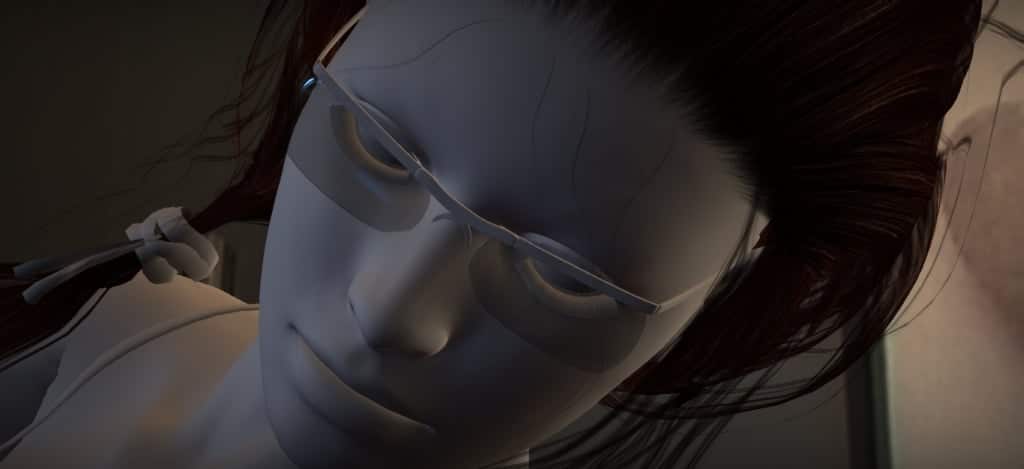
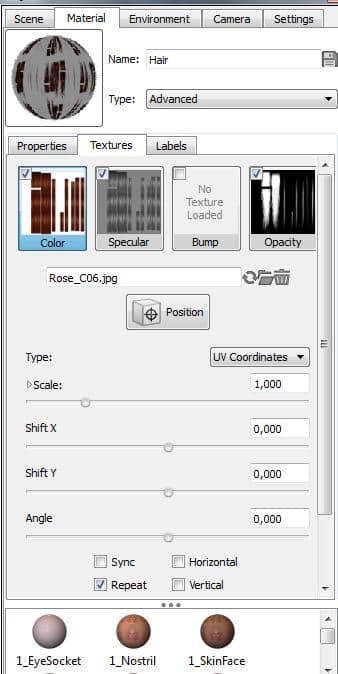
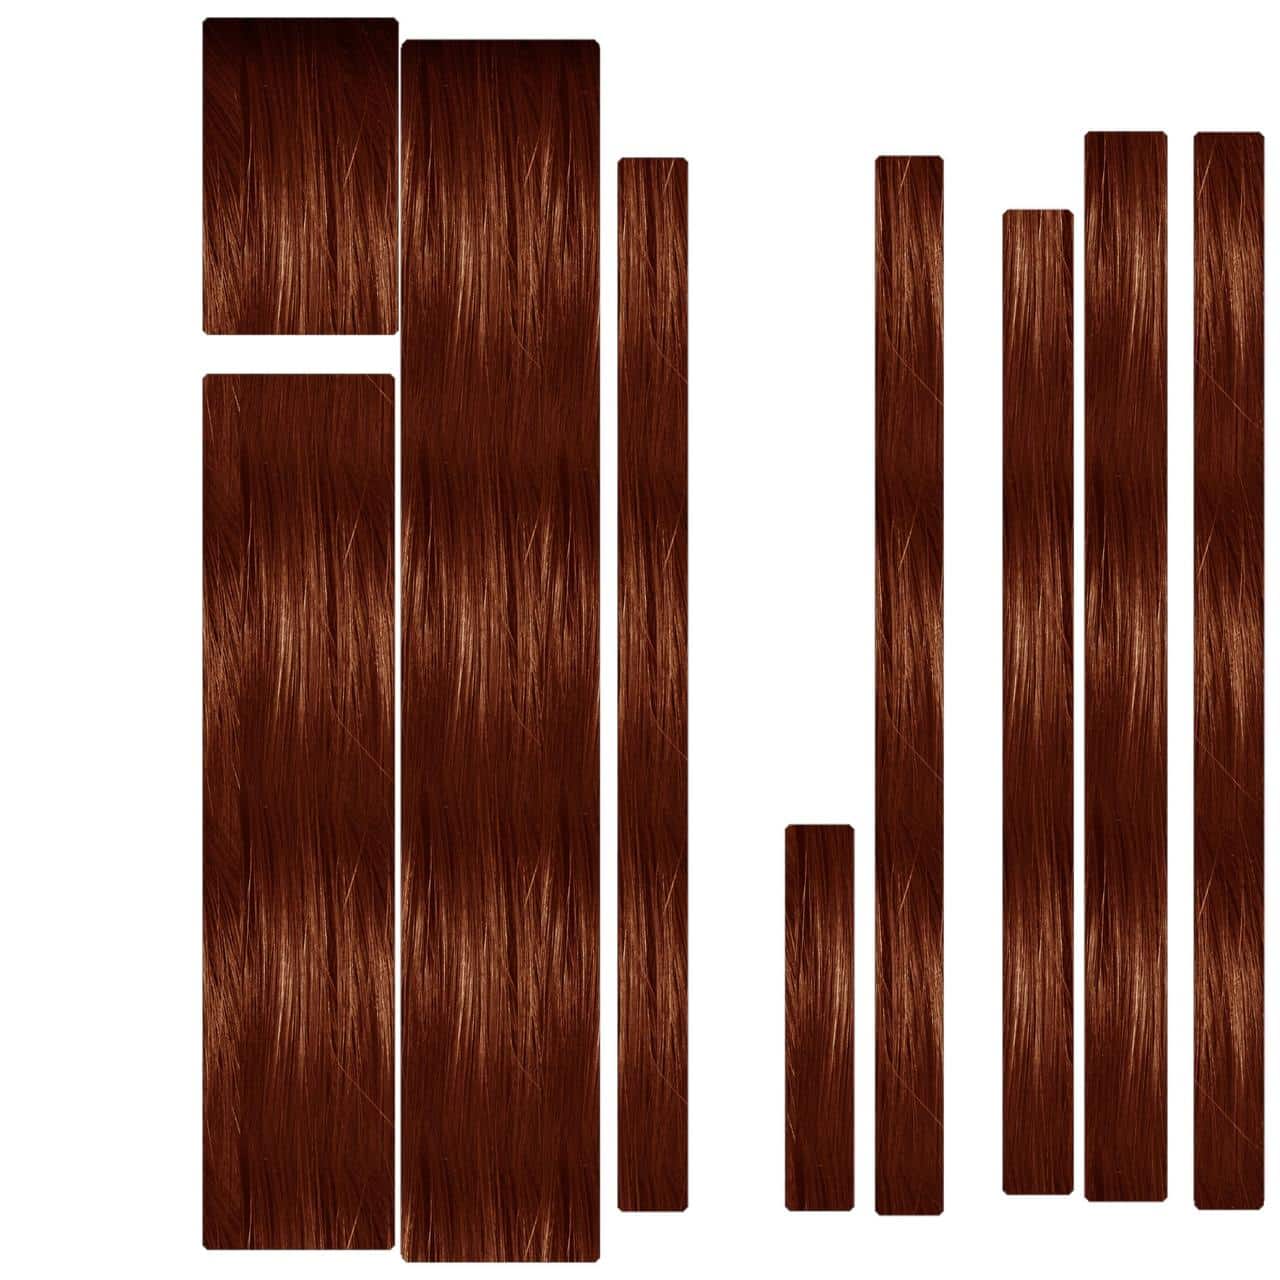
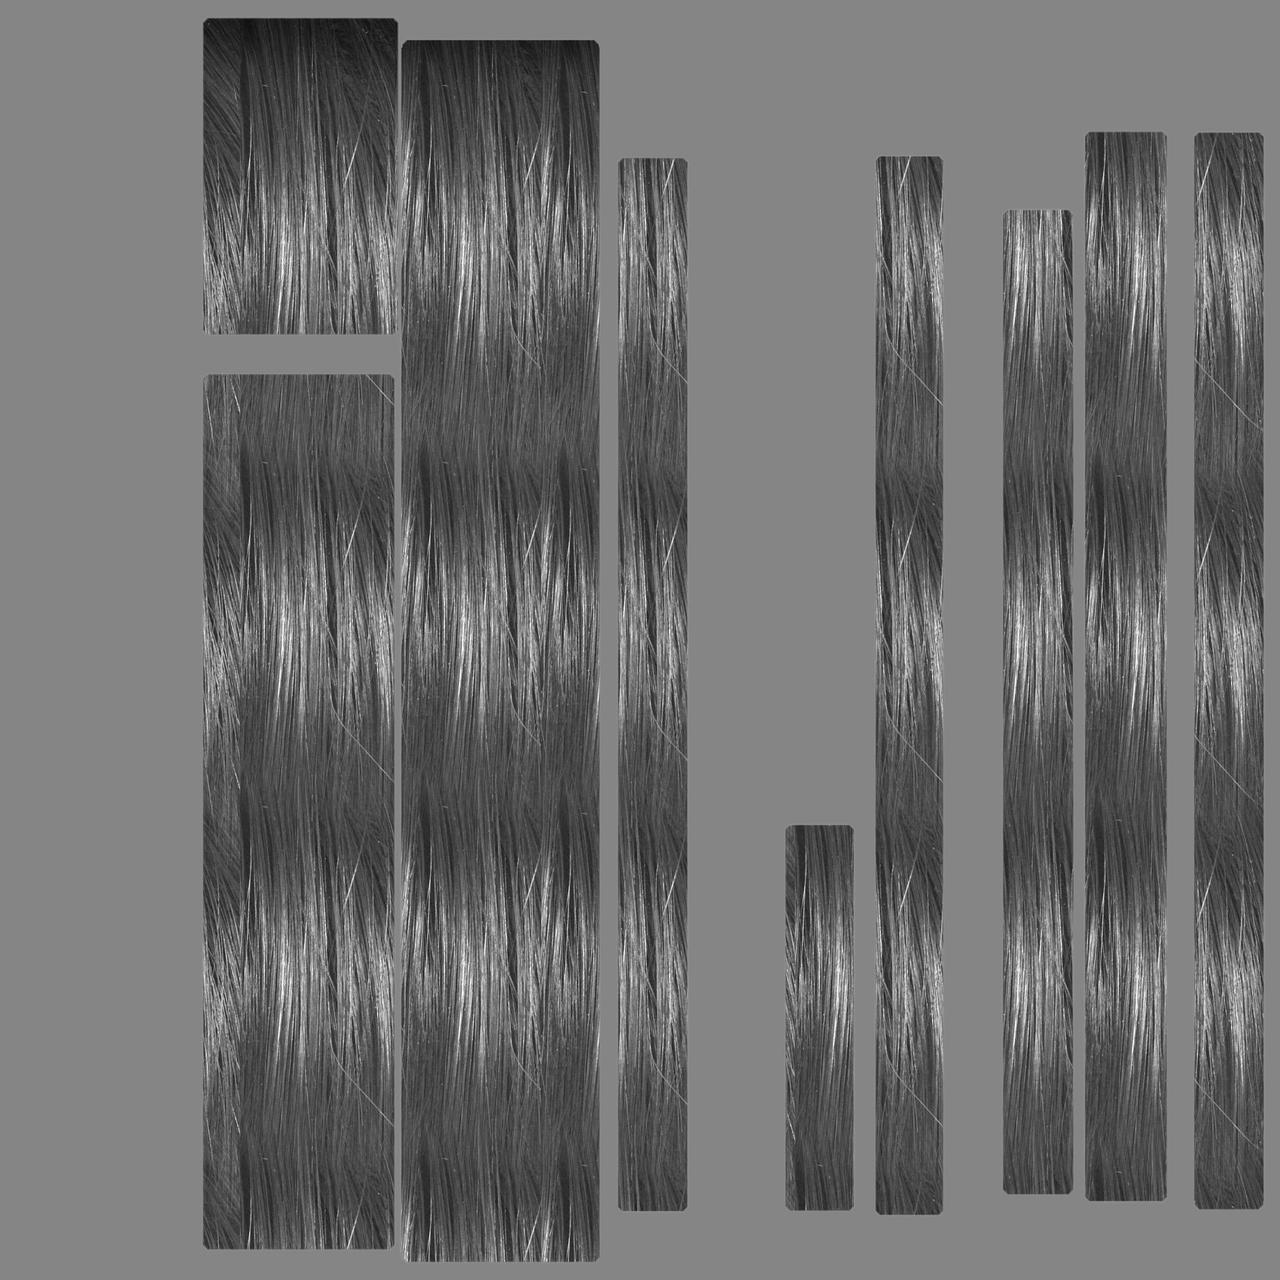
As you can see the hair doesn’t look very realistic. To make it more realistic, I used the color and opacity textures previously exported from DAZ Studio and applied it to my hair material (in UV Coordinates.) After adjusting the reflectivity of the hair, this is what it looks like.
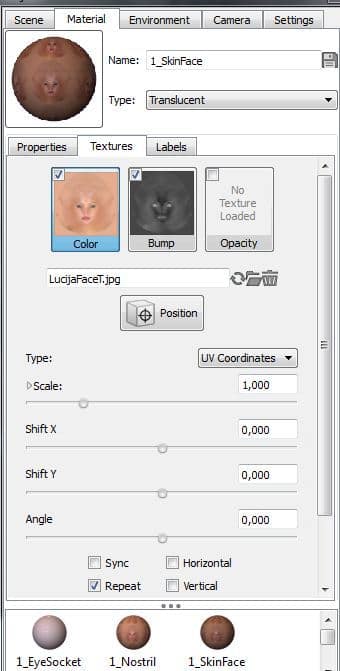
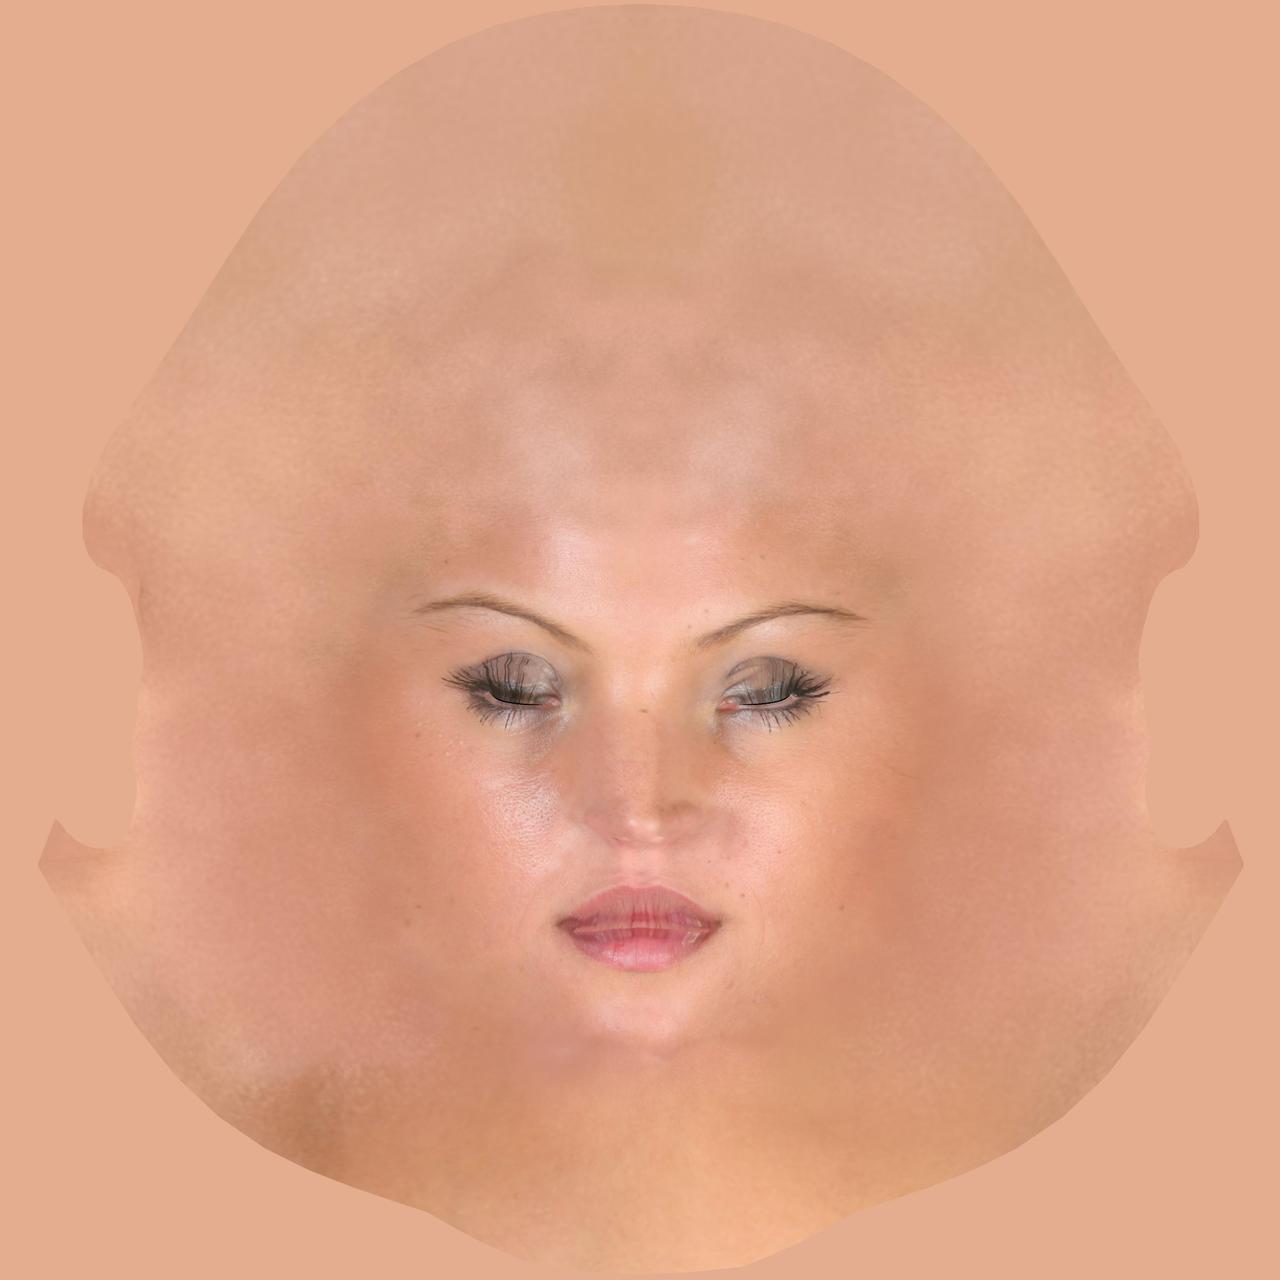
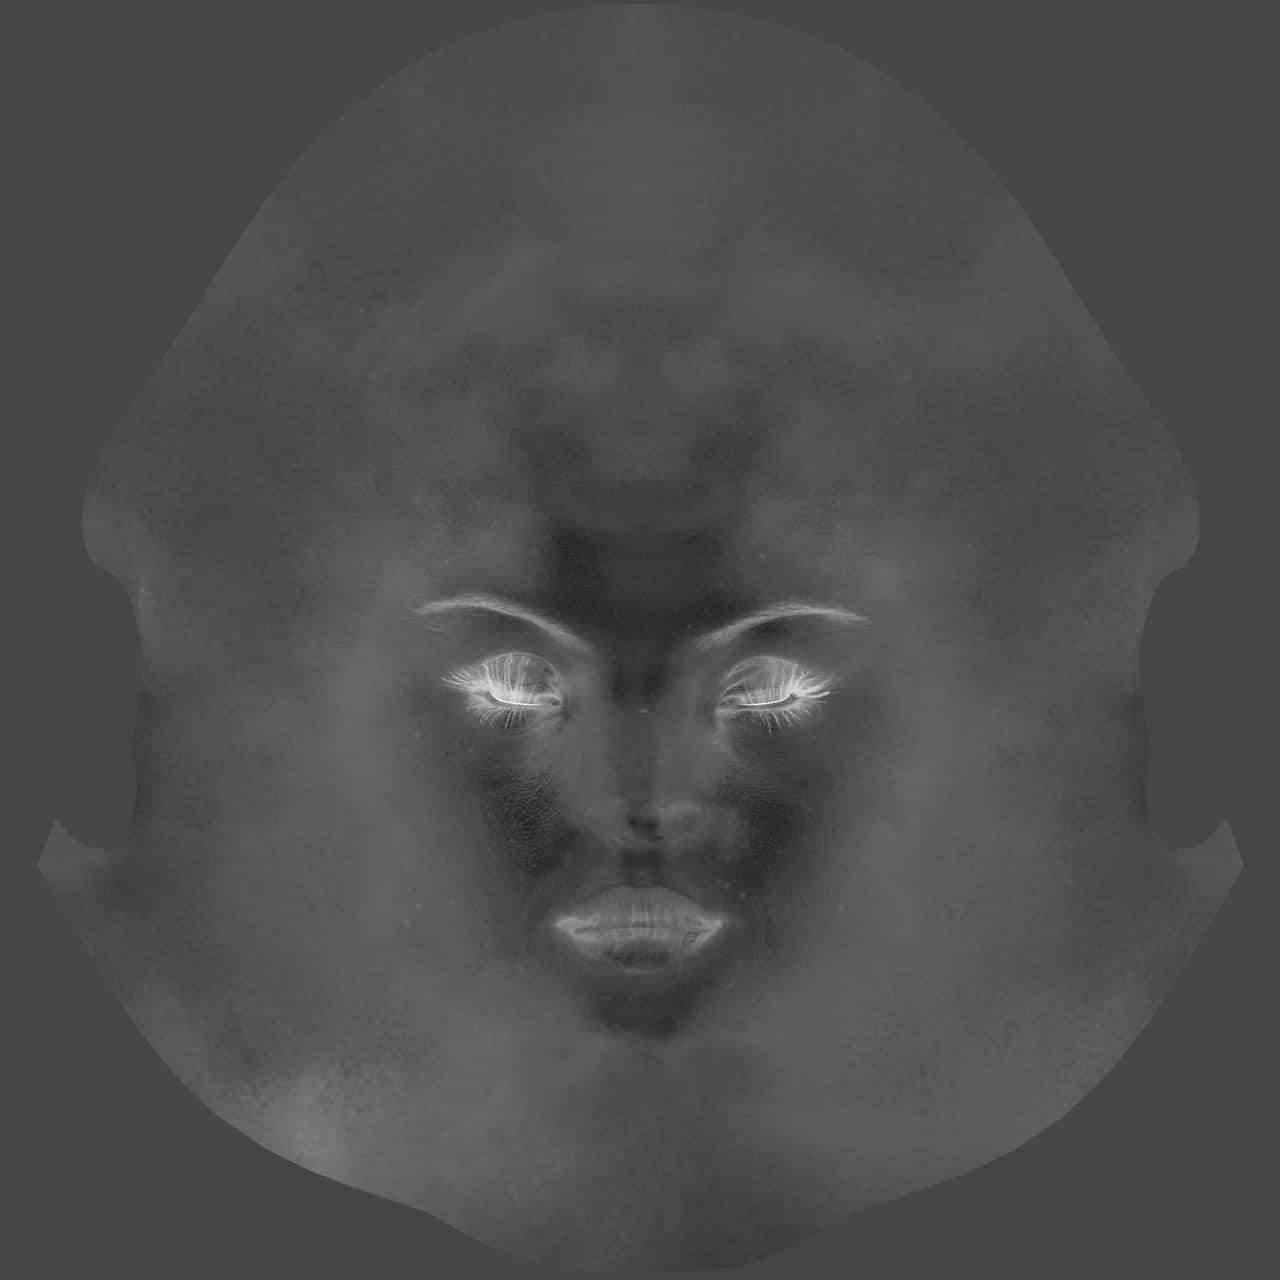
For the skin material, I used the default skin material from KeyShot and added the exported color and bump textures to it. After adjusting height of the bump and tweaking contrast of the color texture, an environment needed to be selected. This was the trickiest part of all because I needed environment that would not make my model too contrasty or too dark. Finding the right environment lighting was pretty straight-forward, but using the Environment Editor in KeyShot 3.1 would have made it much quicker. Now I was ready to make my final render which looked like this.
The only thing left to do was to add some lens flares, lower down the contrast a little bit and darken overall image in PhotoShop. Again, having the Environment editor would have eliminated this step. Now, for the final result:
Fast and simple inside KeyShot. Tiho used a variety of textures and materials exported from DAZ 3D. Here’s a sample of what bump and color maps he used after bringing the model into KeyShot and applying the materials.


