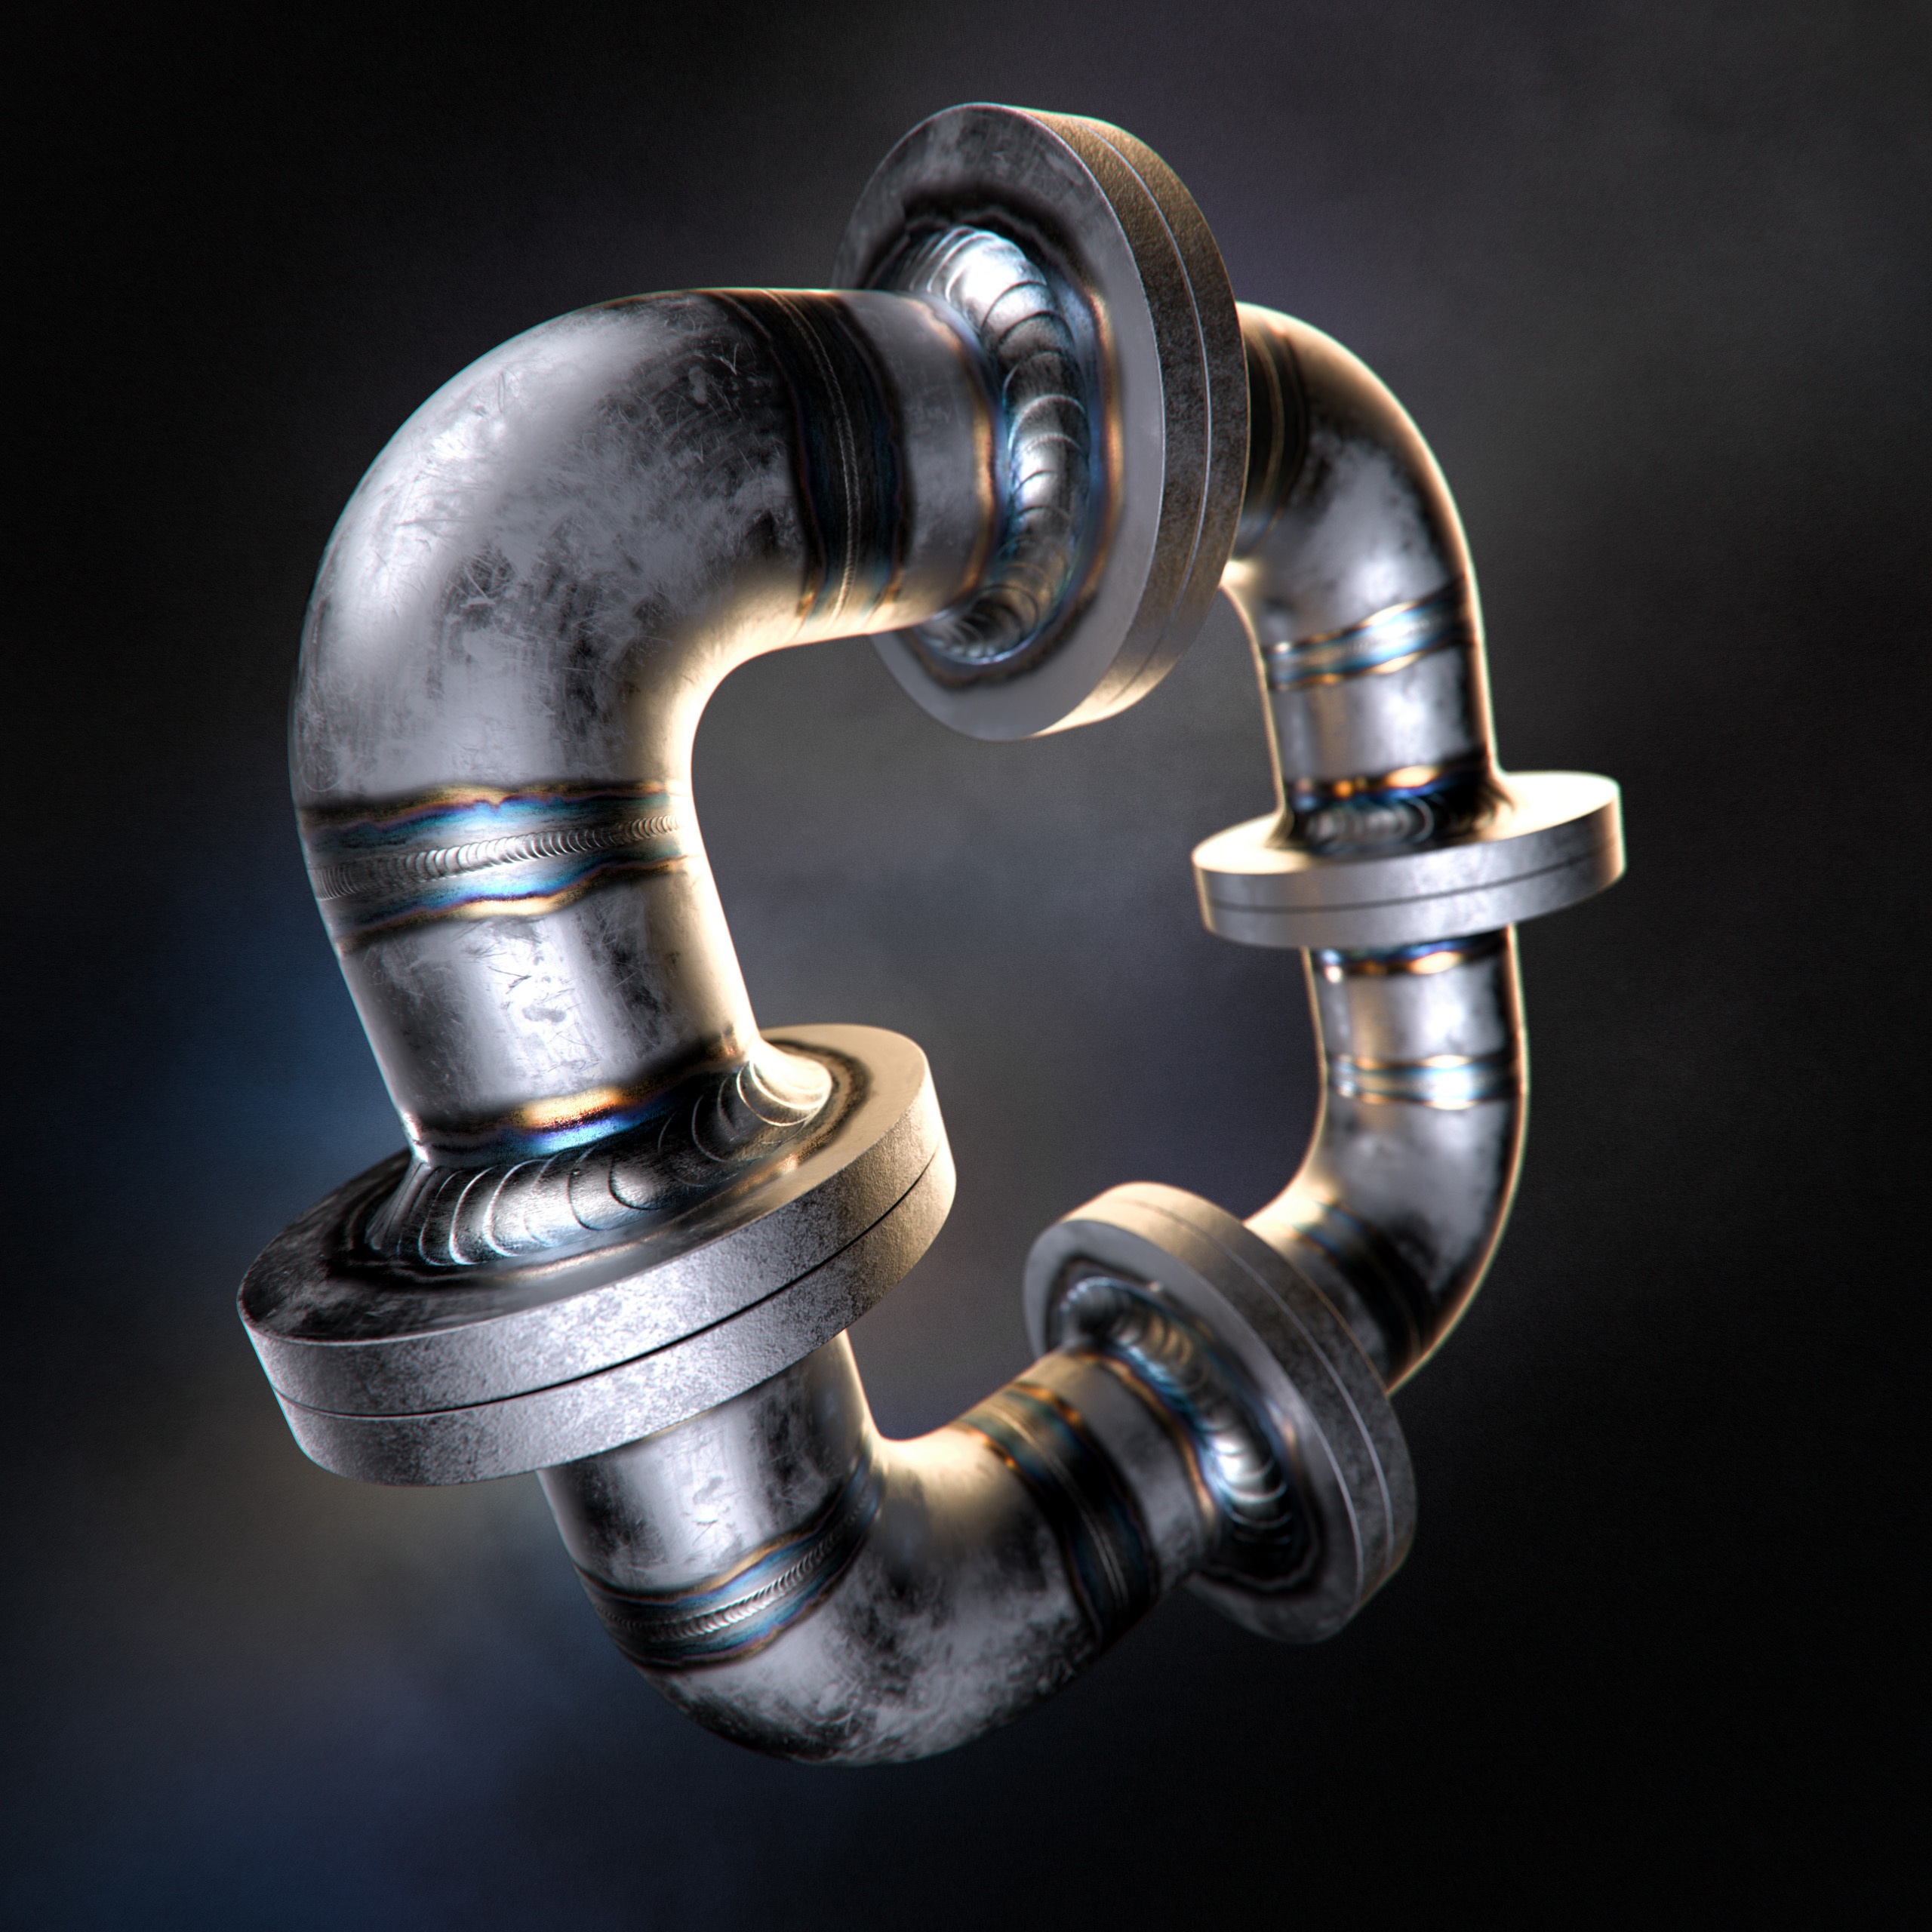
Recently, Magnus Skogsfjord shared his method for achieving realistic welds in KeyShot from CAD geometry. The quick 15-minute video is not only a look into the process of creating realistic weld textures, but a tutorial chock full of info on preparing your CAD data for local UV mapping.
And, if a video tutorial isn’t enough, he has provided the weld textures and the KeyShot .ksp files shown in the video for you to download and study yourself.
Local UV Mapping
He starts off the video tutorial by describing the difference of UV mapping between polygon modeling software (like ZBrush, Maya, and 3ds Max) and parametric, solid (NURBS) modeling software (like NX, SOLIDWORKS, and PTC Creo). This is how he explains it:
For a CAD user, local UV mapping is “a means to utilize how surfaces flow along a local UV coordinate in your parametric software.”
Not following how that applies to weld textures? Well, the context is important and he explains this, providing the terminology along with it, so by the end it all makes sense. In fact, you’re going to learn a lot more about how that 3D geometry in your CAD software works and then be able to apply it up front in the 3d modeling process so you can move along faster in the 3D rendering process.
Here are just a few examples from Magnus of the weld you can achieve with the UV mapping texture approach.


You can learn more by downloading the texture files and KeyShot .ksp scenes from his Gumroad page (https://gumroad.com/l/CADweld). Select ‘I want this!’ and enter ‘weldme‘ in the Discount code area to get it free or pay the $10 to show a little appreciation for such a great resource and tutorial.
A big thanks to Magnus for sharing his process and providing the wonderful resources! You can follow Magnus on Instagram and view more of his work on Behance.


