Often times, designers need to render a white, smooth, product on a white background in a studio setting, lit by white lighting. You’re likely familiar with the challenge this presents. Often the product gets lost among the white background or the image ends up washed out altogether. KeyShot’s Color Gradient is a flexible procedural texture that can offer more control when it comes to rendering white products.
One of KeyShot’s eight different gradient types is called View Direction. With View Direction selected, the surface fades from one color to another as it turns away from the camera. This is demonstrated in the image below.
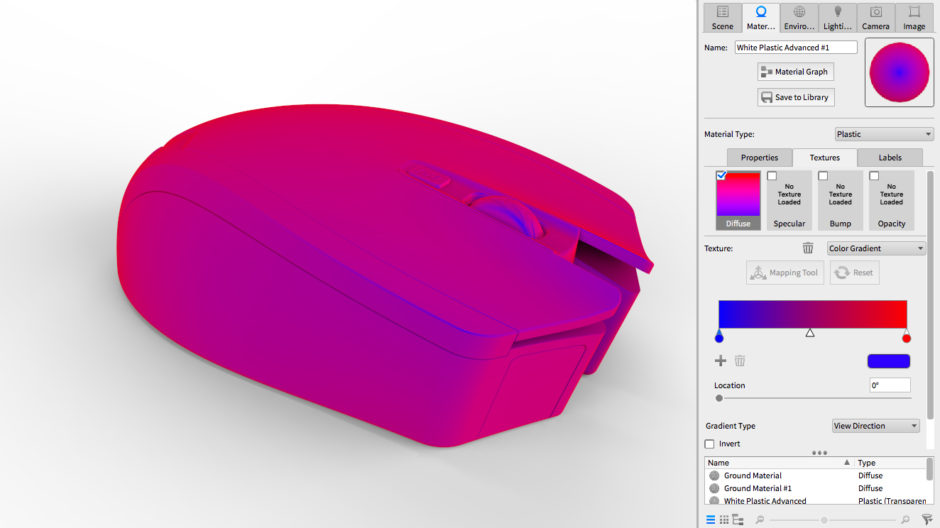
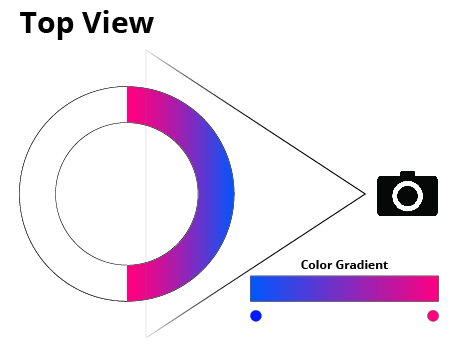 The above diagram shows how the color gradient swatch in KeyShot is projected onto a piece of geometry from a top-down view.
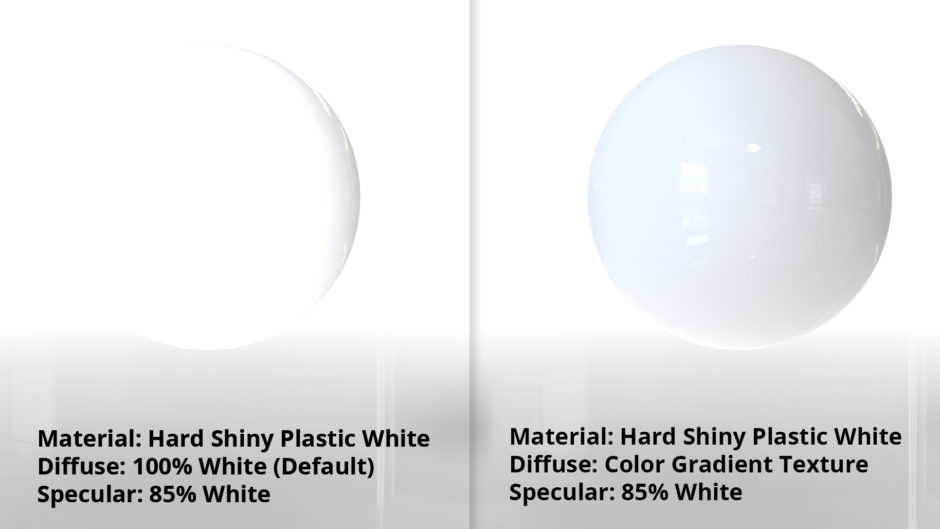
The Color Gradient texture adds further control to an object’s color, especially when lighting white objects in neutral, bright environments. Below is a side-by-side comparison of the results of using a default white plastic material and using a color gradient. The only difference between the two spheres below is a Color Gradient texture was applied to control the diffuse color of the sphere on the right. It’s a best practice to avoid using 100% white values within KeyShot. Since 100% white plastic can be too bright, using gray values in a color gradient can help keep the product from getting washed out.
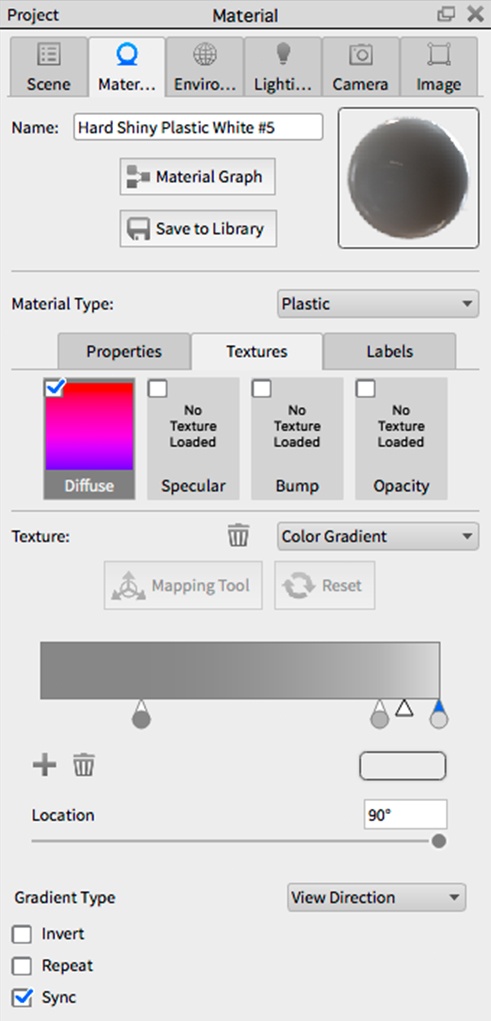
To use a color gradient, navigate to the material’s texture tab. With the diffuse value selected, use the Texture drop-down menu to choose Color Gradient. Under the Location slider, find the Gradient Type dropdown menu. Change it from the default Linear to View Direction. Now, the gradient will be based off of the camera view. Edit the gradient by adding or changing colors to achieve the desired effect. Below is the color gradient used to achieve the white plastic sphere above on the right. Keep in mind, that the colors and values used in the color gradient will vary greatly depending on the lighting environment.
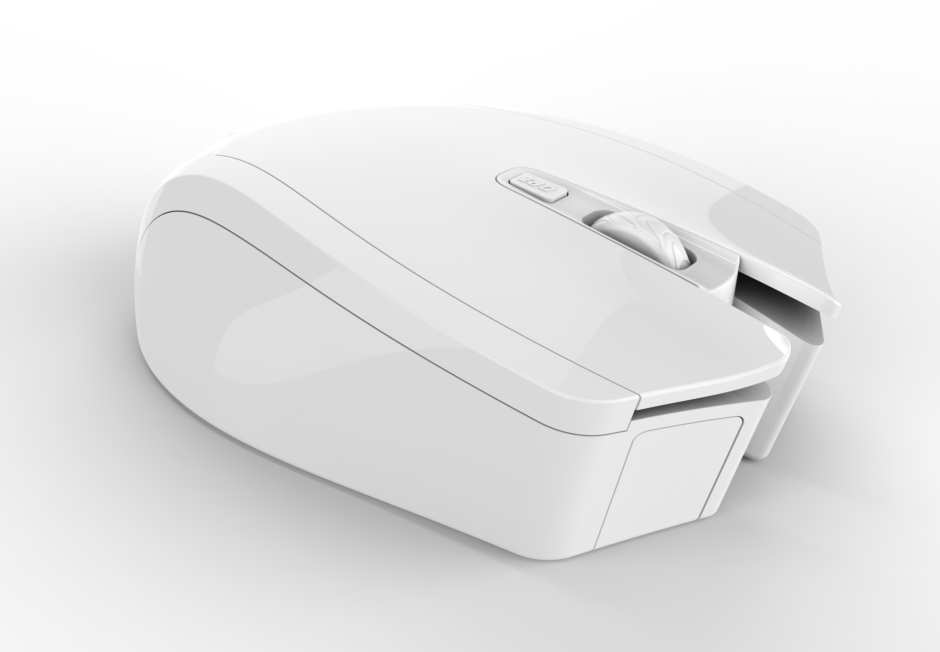
The PC Mouse below, was modeled by Andreas Gkertsos. It serves as an example of what can be achieved using a Color Gradient Texture to control both diffuse and specular values. You can download the material used to create this mouse rendering here or from KeyShot Cloud, and download the KeyShot .ksp file (that includes the material) below.
Hands-on KeyShot Training
Interested in learning more about KeyShot? Contact us for information on our training that covers everything from KeyShot Basics to Advanced Workflow, Material Creation and more.


