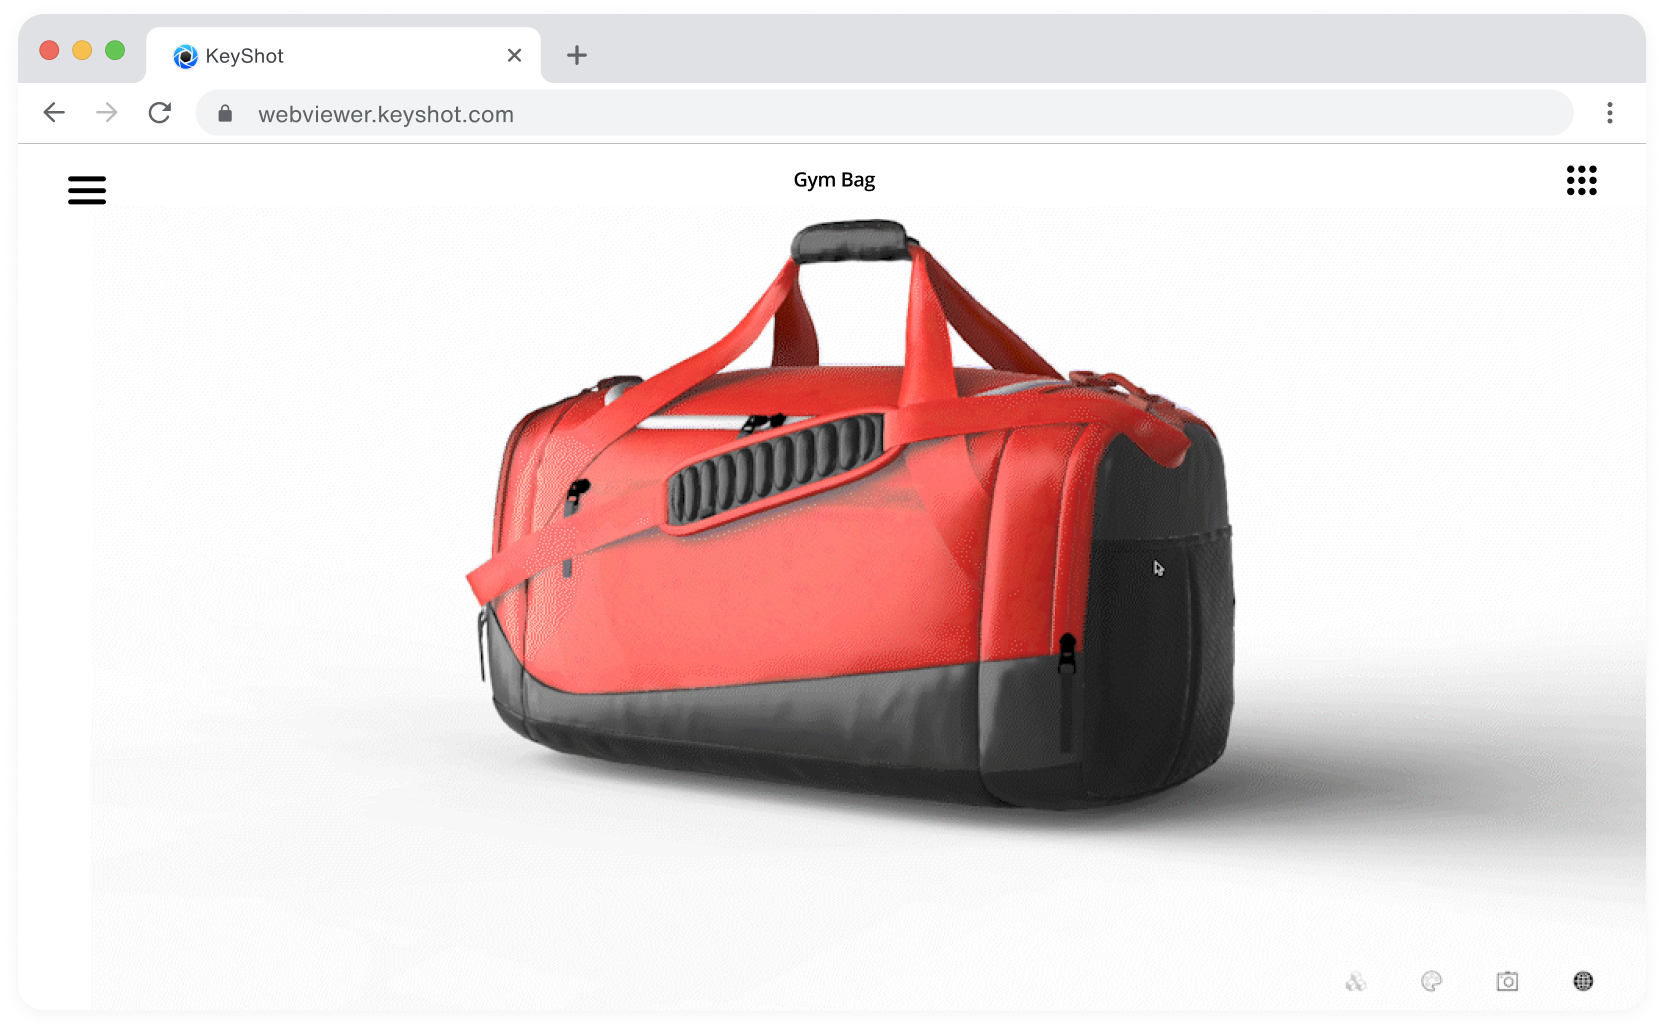
Sharing scenes across departments, stakeholders and development partners is now easier than ever. The KeyShot Web Viewer, accessible with a KeyShot subscription and KeyShotWeb module, allows you to generate a viewable and interactive web-based scene that anyone can view via a link.
In this blog we’ll outline how you set up your scene for export and how to upload and manage your completed scenes.
Using KeyShot Web Viewer
The KeyShot for NX plugin is a premium plugin that requires a subscription license for use with your KeyShot Pro subscription. Once you purchase a license of KeyShot for NX, you may download it from keyshot.com/plugins/ or from the KeyShot plugin manual. The manual also provides additional detail on requirements, installation, and settings. Now, let’s dive into how to activate the KeyShot for NX plugin.
Before You Begin
Make sure your model has been brought into KeyShot and any surfaces or components that will have independent colorway options are prepped as independent bodies. If your model is imported as one solid body, you can always use the split object surface tool to separate portions of your model to show different colorways on those specific parts.
1. Prep Your Model for KeyShot Web Viewer
Make sure you’ve staged your scene and applied your different materials, textures and colorways to your multimaterial list for each part you’d like to show in the final Web Viewer output. Then, if needed, create and save multiple camera angles to bring attention to specific details. Lastly, you’ll want to populate your environments tab with multiple lighting environments, if showing your product under different lighting scenarios is necessary.
2. Upload Your Scene to KeyShot Web Viewer
Once your multimaterials, components, camera views and lighting environments have been created and finalized, you can start the process of uploading your scene for distribution through KeyShot Web Viewer.
Open the KeyShot Web Viewer upload window by locating the file menu at the top of the program window and selecting it from the drop down list, or by hitting the hotkey V. With the window open you’ll be able to name your scene and password protect it by checking the password box and typing in the desired password.
The default quality settings are a great starting point. However, if you’d like to have more control over your export settings, you can click on the “show advanced” options check box. Once selected, you can fine-tune some of your resolution settings as well as your texture quality.
Below that, you’ll find the bake textures and mobile-friendly textures checkboxes. It is recommended to check the bake textures checkbox when exporting, but be aware that this may increase the time it takes for your scene to upload.
And finally, once your settings are locked in, go ahead and hit the upload button to upload your scene to the KeyShot Web Viewer and generate a shareable link for viewing on your desired web browser.
3. Managing KeyShot Web Viewer Scenes
Once your scene has been uploaded to KeyShot’s Web Viewer, you can copy the link that appears near the bottom of the upload window and paste it into your browser to view it yourself or share with others.
If you’ve lost your link, need to retrieve it at a later date, or need to manage your already uploaded scenes, you can do so via the KeyShot Cloud window in the program or on the web browser. From here you can view, share and delete your scenes as needed.
What Can You Create?
We would love to see what you create with this tip. Check out the new KeyShot Luminaries online community to see what others are creating and share your own work. And if you have a suggestion for another tip, share it in the comments below.


