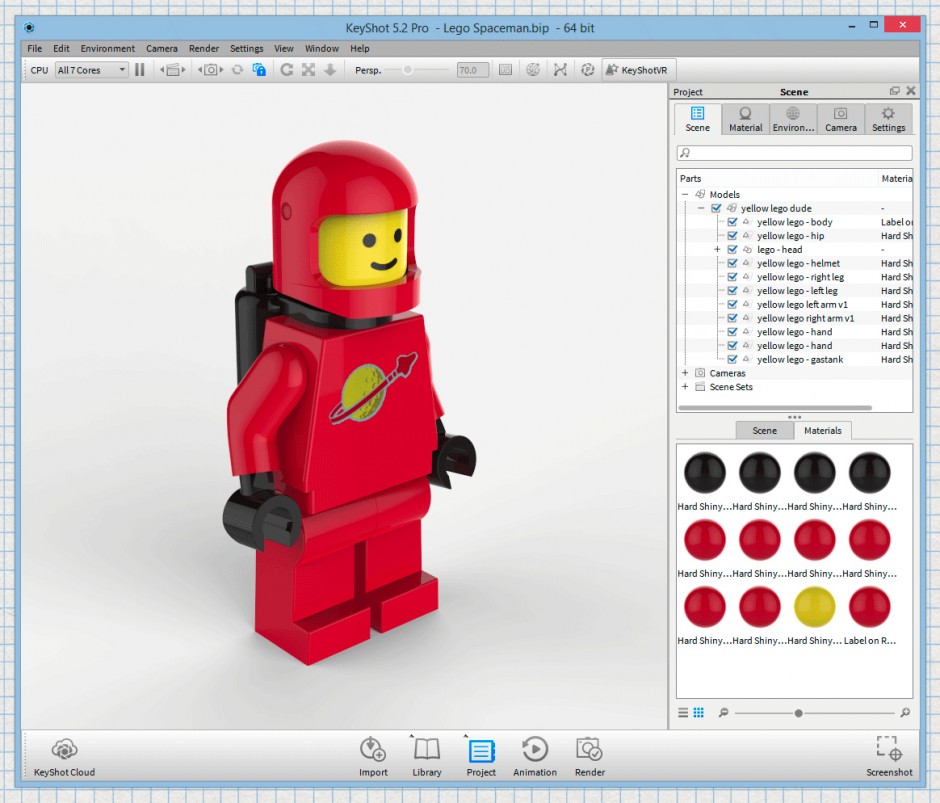
When working with a complex model (or even a simple model) it’s easy to have multiple copies of the same materials in your scene. For example, when applying a Polished Chrome material to multiple parts you may end up with a Chrome Polished #1, Chrome Polished #2, Chrome Polished #3 in your material list. You can clean this up really fast, by linking materials. Here’s how to do it.
1 . View the In-scene Materials
You can manage these materials using your in-scene Materials tab located in the Project, Scene window. In the scene below, we’ve already added some materials, but there are multiple copies of the red and black plastic.
2 . Select and Link Materials
Multi-select materials by drawing a selection box, or holding down Shift and selecting each material. Right-click on one, and select Link Materials. We’ll do this for the multiple red and black plastics.
Now you can see that we have four materials in our scene, which makes editing them much, much easier, and helps keep our materials organized!
Bonus tip:
Rename your materials to make them easier to spot in your in-scene material library. Right-click the material and select Rename Material to bring up the Rename dialogue box.
Lego Spaceman model by Andrew Whitham.


