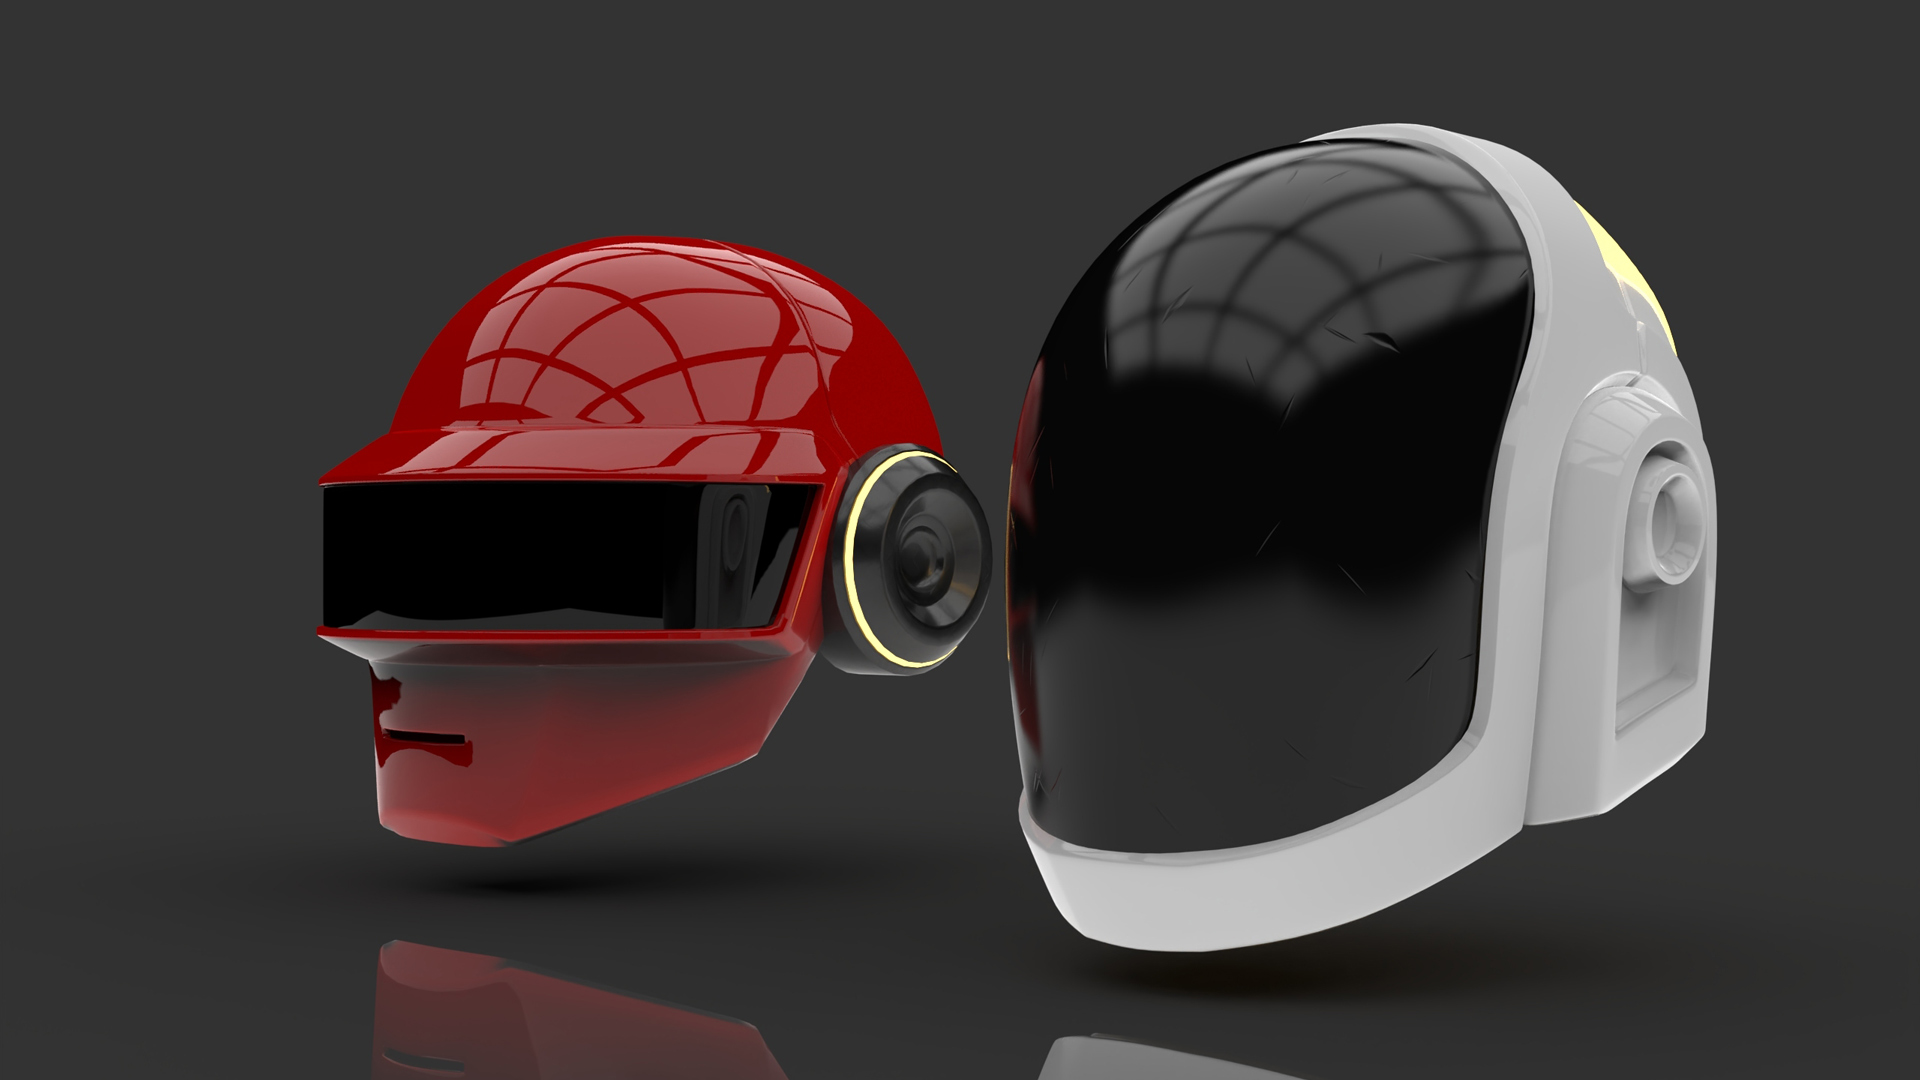
One of the most popular workflows for 3D artists and creators is going from Blender to KeyShot. If you’re a Blender user, we’re excited to finally bring you the KeyShot for Blender plugin. This plugin will help optimize your workflow by speeding up the process of bringing Blender files into KeyShot and updating the files you do bring into KeyShot.
KeyShot for Blender Plugin
To get started, download and install the Blender plugin by visiting keyshot.com/plugins or by visiting the KeyShot for Blender manual for download and installation information. Installers are available for both Windows and MacOS.
With the plugin installed and Blender open, you’ll notice a new KeyShot tab on the main menu. You have several options, including the ability to send your Blender scene to KeyShot, as well as update the model sent to KeyShot if you’ve made new edits. There are two ways to open a Blender model in KeyShot.
Send Blender Files Directly to KeyShot
First, with the model open in Blender, go to the KeyShot tab and select Send to KeyShot. The Blender model(s) you’ve created will open in a new KeyShot scene, and are ‘LiveLinked’ to capture any changes you make in Blender. The LiveLink allows you to make updates to your Blender model if needed, and then quickly send those updates to your KeyShot scene without needing to re-import or re-apply materials. To do so, simply select Update KeyShot from the KeyShot menu.
Export Blender Files and Import Into KeyShot
The Second method to open files to KeyShot is to simply export a KeyShot file from Blender. For this method, you’ll locate the KeyShot tab at the top and select export to KeyShot from the dropdown menu. This will export your Blender models as a KeyShot .bip file which you can then open in KeyShot. Be aware that this method will not establish a LiveLink between Blender and KeyShot.
Other KeyShot for Blender Features
Using the KeyShot for Blender plugin not only allows LiveLinking and export of KeyShot files, but also supports exports for rigid and deformable animations as well as any models with meshes, curves, surfaces, and text. The plugin also allows you to import View Layers as Model Sets if needed for your workflow.
We think you’ll like what this plugin adds to your workflow and can’t wait to see how you use it. You can download the KeyShot for Blender plugin here and learn more in the KeyShot plugin manual. If you’re interested in trying KeyShot Pro, just visit portal.keyshot.com/try/keyshot.
What Can You Create?
We would love to see what you create with this tip. Visit the KeyShot Amazing Shots forum to see what others are creating and share your own work. And if you have a suggestion for another tip share it in the comments below.


