")
KeyShot is great to help you visualize 3D prints but did you know you can export files for 3D print from KeyShot Pro? You have several 3D print export options in KeyShot to go from digital prototype to physical prototype. Today, we’ll take a look at how you can use KeyShot Pro to create 3D printable geometry for prototyping, design review, or even production printed parts.
3D Print Export from KeyShot
If your workflow includes going from 3D modeling direct to 3D printing, you may want to consider the advantages of starting 3D rendering in between. Along with getting a head start on 3D renders, you can use KeyShot’s material, texture, and output capabilities to generate more accurate prototypes, deliver specific options to the customer, and potentially save time and money on engineering and manufacturing.
Control Surface and Texture Appearance
Using KeyShot to ideate different surface and textures appearances helps to significantly speed up design decisions, as well as reduce time spent 3D modeling. To make this happen, the KeyShot Material Graph allows you to easily convert image textures into actual geometry through Displacement.
Not only does this control over surface geometry allow you to create many iterations of surface effects but it also allows you to easily manipulate and refine the depth and scale of a texture. What’s incredible about displacement, is how these displaced textures can also be accurately 3D printed.
This texture control comes in particularly handy when prototyping surface elements that may be time consuming or difficult to create, and it can also help reduce the reliance on 3D modeling for surface experimentation earlier in a project.
Adding Displacement
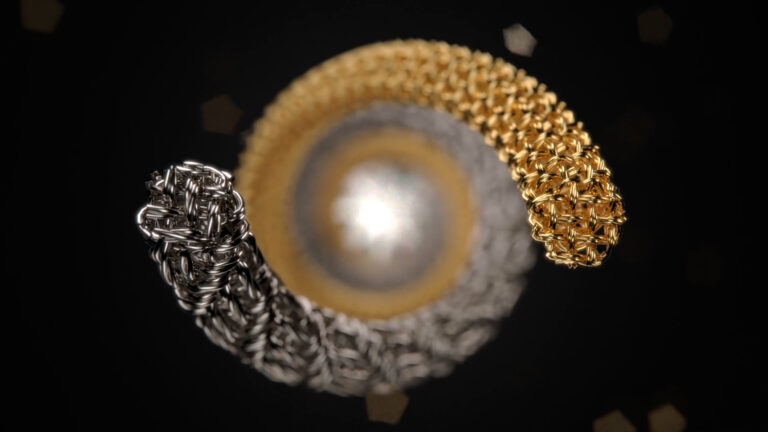
Our KeyShot Puck model incorporates a knurled texture around its circumference. You can create this texture easily by downloading the diamond knurl image texture from KeyShot Cloud then plugging it into a Displacement node added in the Material Graph.
First, select the part, go to the Project, Material tab and select Material Graph. To add displacement texture to the material, simply right-click in the Material Graph workspace and select Displace from the Geometry menu. This adds a Displace node that can then be connected to the Material, Geometry input. Drag and drop the Knurl texture into the Material Graph workspace and connect it to the Displace node.

With both nodes connected you can now adjust how the displacement appears, much like you would any bump texture in KeyShot.
Pro Tip:
Use the C-key to toggle a node’s color which allows you to isolate and view the image texture on your objects surface. This helps when making adjustments to scale and position of the texture.
Once your texture is at the scale and position needed, select Execute Geometry Node (or  on the main menu) to ensure your surface accurately reflects any adjustments you made to the Displace settings. If you’re happy with your surface texture appearance, it’s time to export for 3D printing.
Export for FDM or SLA 3D Printer
If you use an FDM printer or an SLA (Resin) 3D printer, select File, Export, and choose Export to STL… or Export to OBJ… format for an export option that will get you quickly get into your slicing software and 3D printing. The STL export will provide additional options for units, scale, and texture mode.
Export for a Full-Color 3D Printer
KeyShot also includes output options for full-color 3D printers. This includes a ZPR file format for printing with Zcorp machines as well as a 3MF format that includes color and texture data for accurate multi-colored, multi-textured 3D prints on compatible printers, such as the Stratasys J55 or J8 Series 3D printers. Select Export to ZPR… or Export to 3MF… to set the corresponding options for import into your 3D printing software.
3MF export is part of a set of KeyShot’s Smart Export options that incorporate KeyShot sub-feature such as UV unwrapping and baking to prepare your assets for use in augmented reality, mobile, and 3D Print workflows. You can learn more about Smart Export and 3MF output in the KeyShot Manual and our Smart Export tutorial.
What Can You Create?
We would love to see what you create with this tip. Visit the KeyShot Amazing Shots forum to see what others are creating and share your own work. And if you have a suggestion for another tip share it in the comments below.