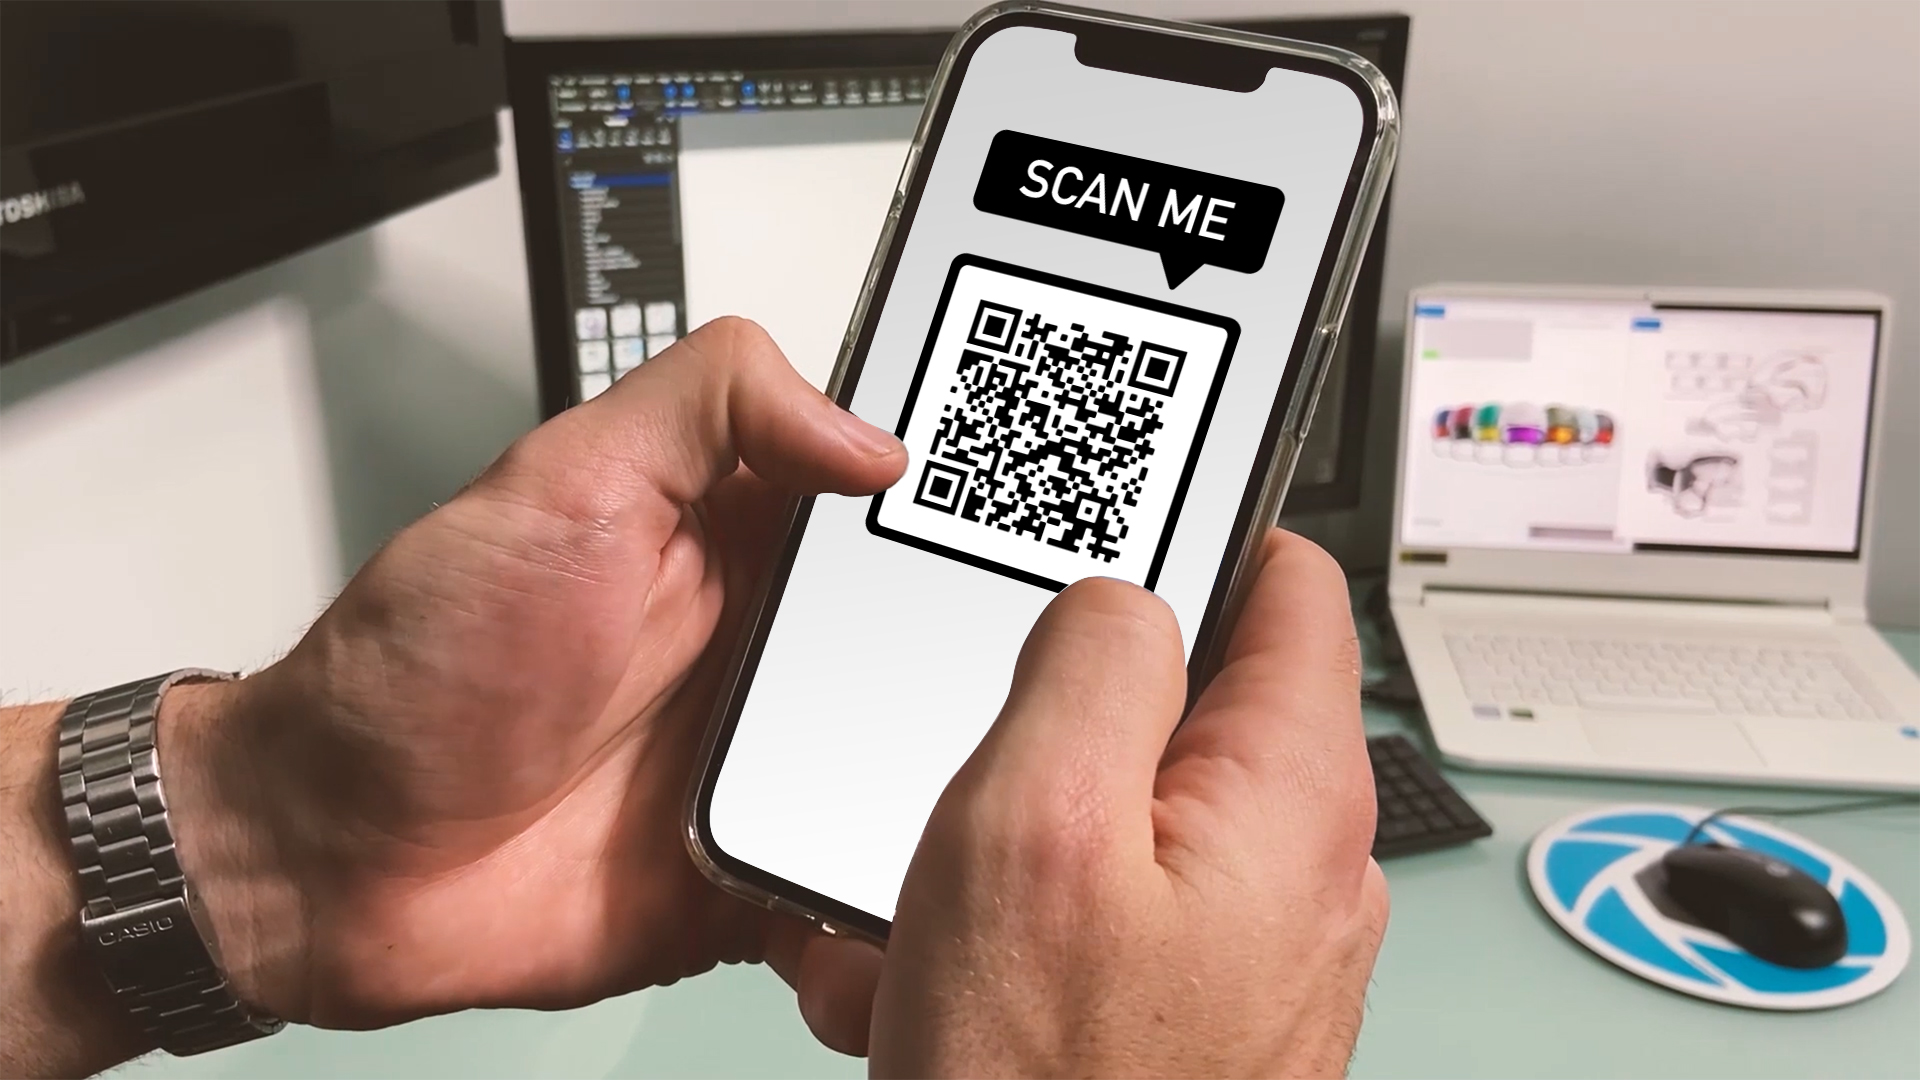
With USDz and GLB export from KeyShot, there are a lot of ways to experience your 3D models. One common method is to share them with a QR code. The person uses the camera on their mobile device to scan the QR code which opens a link and (on modern mobile devices) displays the 3D model right on the screen. Today, we’ll show you how to do this.
View AR Models with QR Codes
QR codes are convenient for a variety of reasons. They can be used to review models among colleagues, share a design with a client for feedback through the design phase, or provide an interactive product view to customers. Before you start, you’ll need a few things:
- A USDz and/or GLB file (From KeyShot – File, Export, Export to AR (.usdz, .glb)…)
- A place to host your files (must be a web server, Dropbox/Google Drive will not work)
- A QR code generator (there are many online. We used qr-code-generator.com/)
Once you have those, you’re ready to get started.
1. Upload File to Web Host
To create a useable QR code, you’ll first need to make sure you have your file or files hosted on your website’s web server. Your web host should have sent you information to access your web server via an FTP Client like Filezilla. If you don’t have a web server, you can set one up quickly through a third-party web hosting site such as HostGator.
2. Generate the QR Code
Once you have a website URL for your hosted content, you’ll then need to open your QR code generator of choice. There are many free online QR Code generators. Enter the URL into the field, select your options, and generate your new QR code for distribution.
How Do I Create a Single QR Code for Both Android and iOS?
If you’re creating a QR for a single file type, this process is incredibly straight forward. However, not all devices can open the same files.
 When exporting AR files from KeyShot, you’ll generally want to export two separate files, USDz files for iOS devices and GLB/gLTF files for Android devices. The problem with doing this is that you now have two files and QR Codes only allow a single URL. How do you make it tell the difference?
The solution is to create a basic script embedded in an HTML file, that when hosted, will automatically determine what platform your viewer is using and redirect them accordingly. You can download a copy of this HTML file here and you can view and edit it using a text editor of your choice. This script essentially allows a single QR code to function for both Android and IOS platform devices without having to generate multiple QR’s.
To replicate this, all you would need to do is replace the URL’s listed under the if and else if
statements with URLs of your choice, save the HTML file, then upload it to your web server. You’ll then use the link to the HTML file as the URL for your QR code. Just generate the QR code in the same way as before.
From this point, you can distribute your QR and your recipients will be able to quickly and easily view your exports in augmented reality.
You can learn more about working with the KeyShot Export Formats and view the Best Practices for Sharing and Embedding USDz and GLB Files in the KeyShot Manual. If you’re interested in trying KeyShot Pro, just visit portal.keyshot.com/try/keyshot.
What Can You Create?
We would love to see what you create with this tip. Visit the KeyShot Amazing Shots forum to see what others are creating and share your own work. And if you have a suggestion for another tip share it in the comments below.


