Dries Vervoort has been posting some of his work with the new physical lights and improved translucent materials in KeyShot 4. Some were interested to know how he went about creating water droplets in his 3D modeling software of choice, SolidWorks. Here, he provides the step-by-step, along with the 3D model and the KeyShot .ksp file with all the materials and ready for your to render.
Creating Water Droplets in SolidWorks to Render in KeyShot
You can download the packages with .ksp and STEP file here. If you’re familiar with SolidWorks, the process is very quick and simple, especially if you use water droplets in your models quite often and already have the droplets (spheres) modeled up. The basic idea is to create 3D Sketches that the spheres can be patterned across using a Sketch-driven pattern. Here’s the step-by-step.
Preparation:
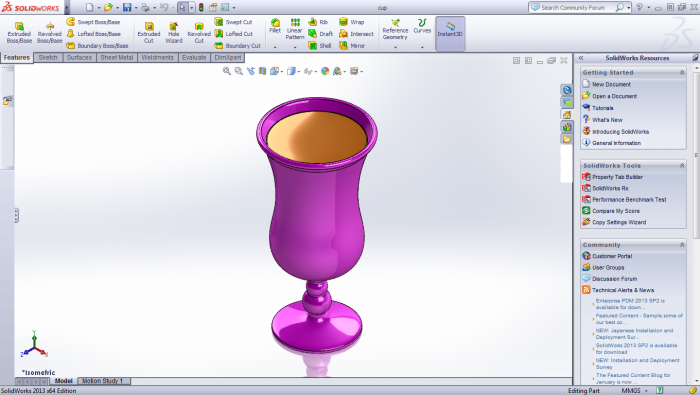
Model your glass and liquid. I opted for a slight intersection of my liquid solid into the glass. Make sure that your inner and outer glass surfaces are single faces. (This makes the next steps easier).
Step 1:
Offset the outer glass surface, outward with a very small offset distance. A condensation material will be applied to this surface in KeyShot.
Step 2:
Offset the outer glass surface, inward with a very small offset distance. This surface will be used to cut the water droplet bodies later on.
Step 3:
Offset the outer glass surface, inward with a slightly larger offset. This surface will be used to sketch points on, to make patterns of water droplets.
Step 4:
Model the droplets (spheres) with varying radius. Start a 3D Sketch and place points randomly on the surface created in Step 3.
Step 5:
Use that 3D Sketch to create a pattern of droplets. Hint: Create several 3D Sketches with randomly located points for different size droplets.
Step 6:
You can also create an additional surface (offset with larger distance from outside glass surface) for droplets with larger radii. This creates a more natural, less synthetic, looking dew on the glass.
Step 7:
Cut the water droplet spheres with the offset surface that you created in Step 2. The water droplets should now intersect your glass body very slightly.
Step 8:
Create an Assembly of your cup and dew geometry. Check your settings and prepare your model (tesselation, coloring parts…) for import in KeyShot.


