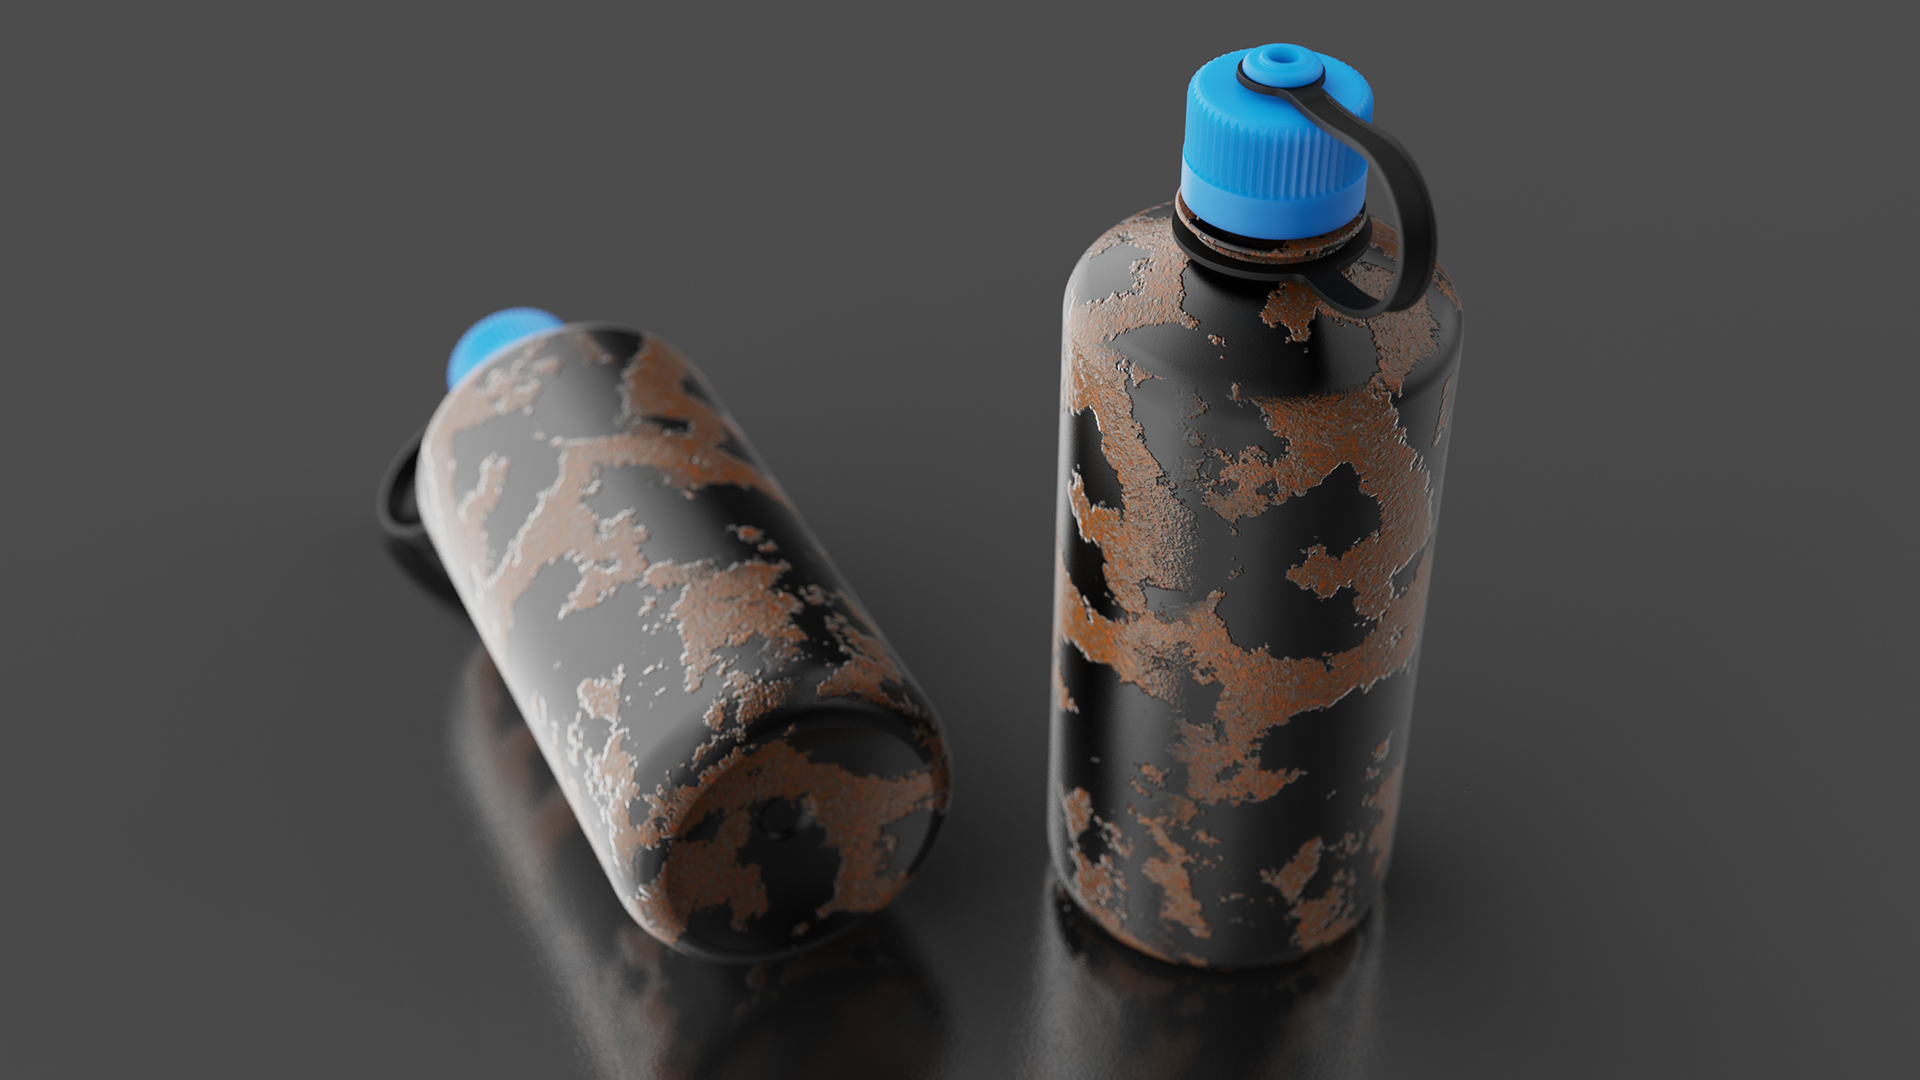
If you need to apply a seamless texture to your product design, but don’t want to jump between programs to do so, there’s a quick way to blend your texture maps seams, without leaving KeyShot.
Seamless Textures in KeyShot
There are various applications that call for seamless textures on a model. You can use the following method to quickly apply different ideas for textures to your concepts without the need to spend a lot of time on image/texture prep. This also works great for background textures, ground textures, or textures that wrap around surfaces. Let’s take a look at how it’s done.
To get started make sure you have the texture applied to your model and either the Textures sub-tab open in the Project panel or your Material Graph open with texture selected. (You can learn how to add textures here or view our KeyShot Essentials series.)
From here, locate the Texture Type dropdown and select Tri-planar. Now, we’ll adjust the Tri-planar texture properties. Go to the Blend Seams slider and adjust the blending amount until the hard lines of any seam blends to your liking.
This method works for many textures, particularly when they are organic or non-repeating. However, this method can sometimes be less effective when working with repeating patterns and machined textures.
Hopefully this quick tip makes texture mapping your future KeyShot projects a little easier. You can learn more about KeyShot textures and the Tri-planer texture type in the KeyShot manual. If you’re interested in trying KeyShot Pro, just visit portal.keyshot.com/try/keyshot.
What Can You Create?
We would love to see what you create with this tip. Visit the KeyShot Amazing Shots forum to see what others are creating and share your own work. And if you have a suggestion for another tip share it in the comments below.


