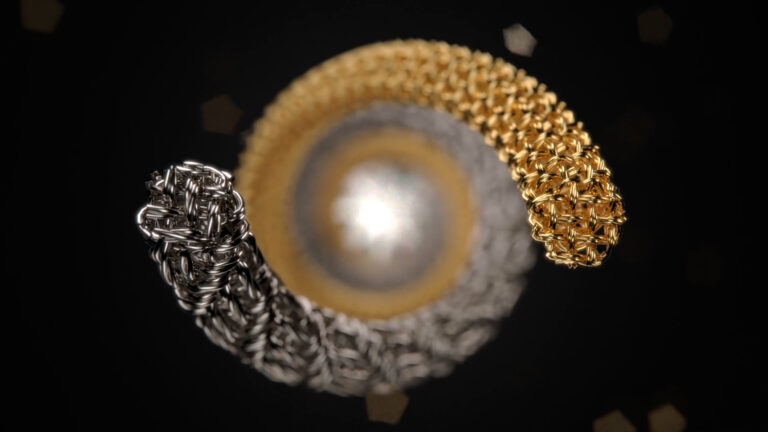
Last week, we fired up the central fuselage of KeyShot development and launched KeyShot 3.3 into the product rendering exosphere. Lots of high-fives and caffeine withdrawals ensued, and we were extremely excited to see the rush of interest in KeyShotVR. We knew it was good and we’ve been hearing a lot of ways in which KeyShot users plan to use KeyShotVR. To show you how simple it is to generate a KeyShotVR, here are the five steps it takes less than five minutes to go through.
Creating a KeyShotVR
After you purchase the KeyShotVR add-on, you’ll have an additional button in the KeyShot menu. Selecting KeyShotVR will bring up a wizard that takes you through all the steps necessary to create the visuals and embed code.
1. Pick your VR Mode
You have four options: Turntable, Spherical, Hemisperical or Custom. You’ll see a preview of each one as you select it.
2. Pick your VR Center
You have three options here: Environment, Object or Custom. If you select Custom, you’ll be able to select the object, to locate your center around, from the hierarchical list of models in your scene.
3. Pick Intial VR View
This is the first frame of your KeyShotVR. Fine tune the Distance, Azimuth, Inclination and Perspective with an option to show a grid dividing the screen in thirds to help compose the image.
4. Set VR Smoothness
This allows you to see the smoothness of the VR independent of both Vertical and Horizontal frames. The number of frames will be the multiple of vertical and horizontal frames, so with 20 Horizontal and 10 Vertical, you will render 200 frames.
5. Set VR Output
The final step before Rendering is to select your output. Supply a name and location or use the defaults provided. From this screen, you’ll have access to start the rendering or go to the Render Settings for further options–options for play button, level of detail, mouse sensitivity and more. The VR Render options are always available from the Render Settings menu under Output.
Here’s an example of a KeyShotVR we created from the model of Engine Rendering Contest winner Rodrigo Soria. Go ahead, give it a spin. You’ll notice that it’s also touch-enabled, so you have an interactive viewing experience on mobile device or tablet.
You can find out more about KeyShotVR here and if you have questions about KeyShotVR, just ask in the comments. If you are ready to try KeyShotVR, send an email to sales@keyshot.com or call us on the trusty ol’ land line at (888) 836-5314.


