Rarely in life do you find a perfectly finished and unmarred surface. Whether it’s due to manufacturing marks, scratches or fingerprints, surfaces tend to have small imperfections you may not even notice. When you want to add these types of imperfections or create more advanced materials in KeyShot, the most flexible option is the Material Graph in KeyShot Pro.
Multi-Layer Bump Textures in KeyShot
When working in KeyShot, a great way to make scenes more convincing is to imagine how your object might be used and purposely add subtle surface imperfections. One way to do this quickly and easily is with bump textures. The video below illustrates the process. Let’s go through the steps:
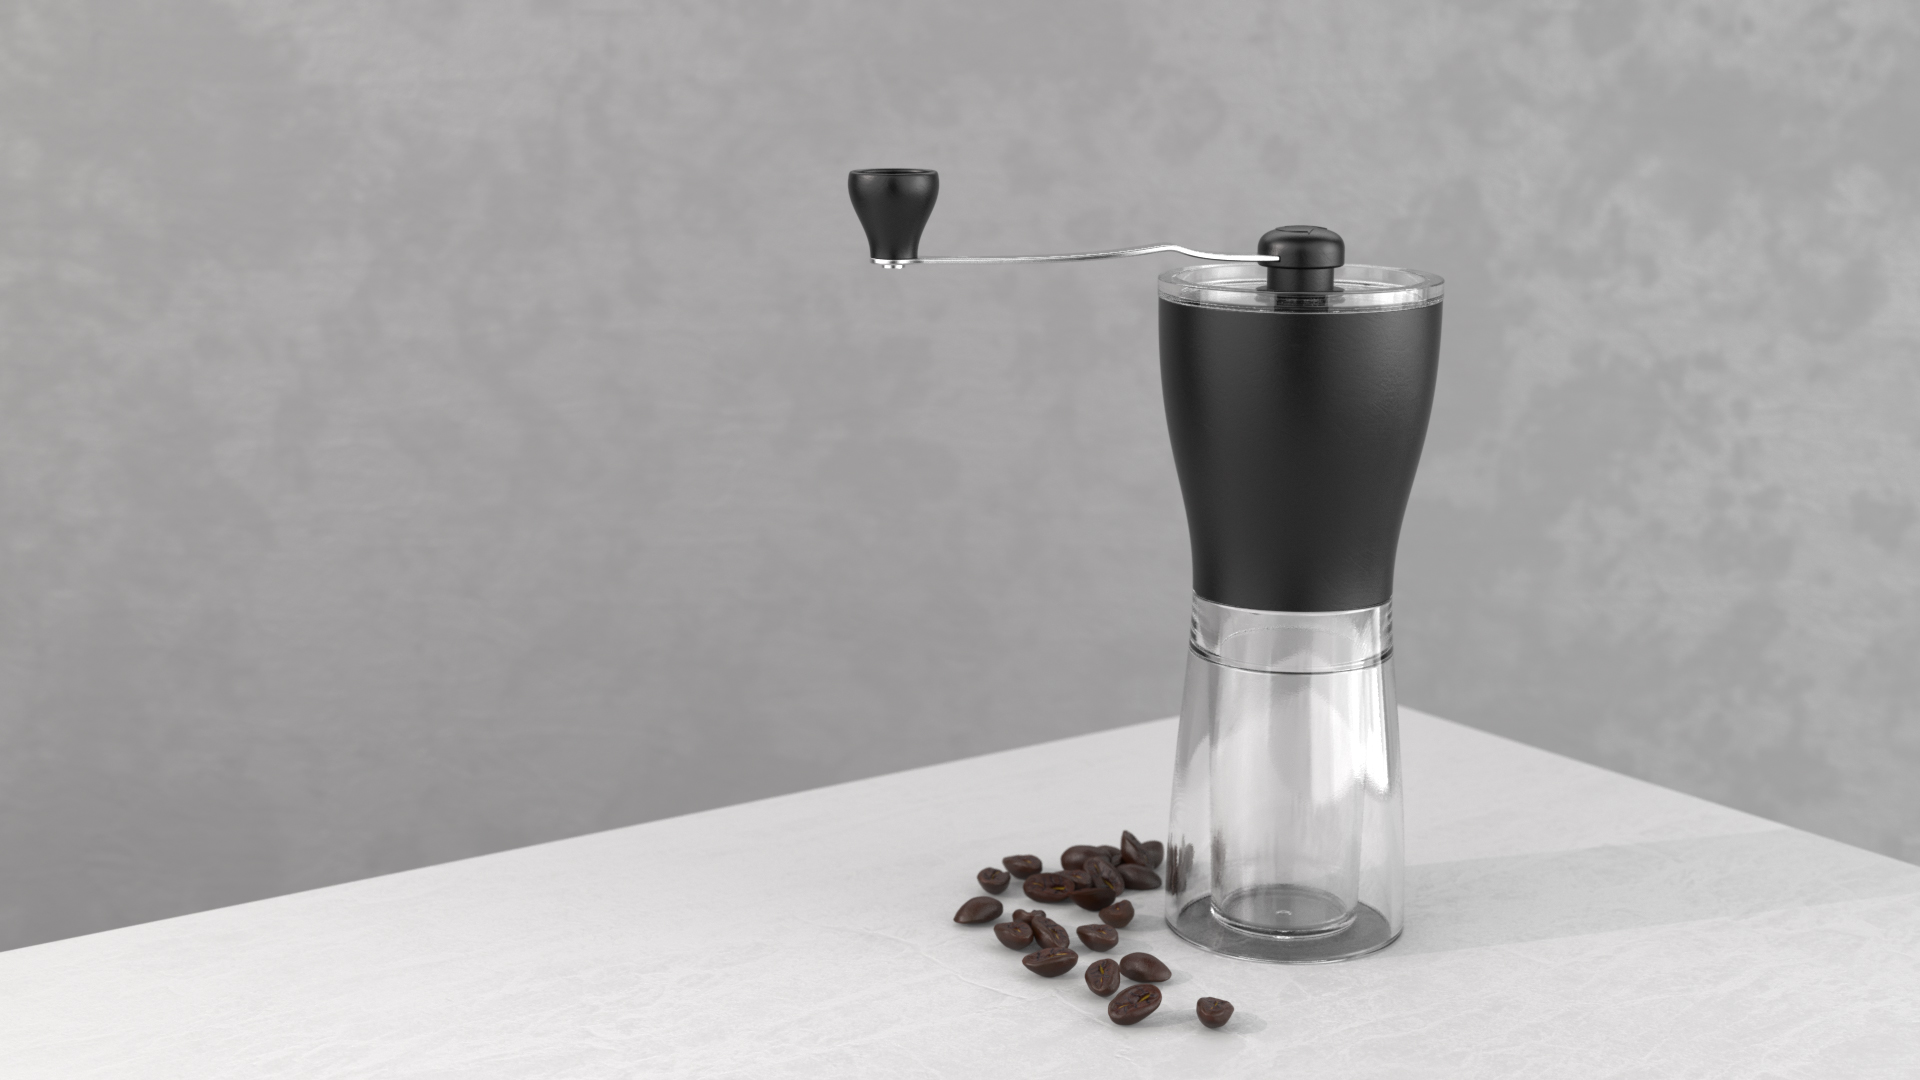
For an example, download the coffee grinder model from KeyShot Cloud. It contains the Material Graph setup shown in the video as described below and also includes Multi-Materials which demonstrate how you would setup colorway options.
Download Coffee Grinder
1. Add a Base Material
To get started you need a base material to work from. Go ahead and drag-and-drop a plastic material from the Material Library onto the model, then double-click the part with the new material. This displays the Material Properties.
2. Open The Material Graph
Click the Material Graph button to open the Material Graph. With the Material Graph open, you’ll see two blocks in the workspace – these are called nodes. Think of these nodes as the ingredients of a material. To the left of the Plastic node is a series of input channels that allow you to customize and control your materials appearance. For now, we’ll focus on Bump.

The material nodes in the KeyShot Material Graph.
The Plastic material node (left – with Bump input) and the Root node (right – with dark border).
3. Add the First Texture
Our goal is to make the surface look a bit more textured adding some wear or scratches to the surface to make it feel like it’s had some use over its life. To do this using bump maps, right-click in the Material Graph Work Area and from the Textures flyout menu, choose a texture node, like Noise. Then, attach the output of the texture node to the Bump input of the Plastic node. You’ll immediately see that the surface of the model change to reflect the current settings of the texture that was applied.
Be aware that the degree to which your bump is visible is highly dependent on the scale of your model and scene. If your bump is not visible or is too large, then just double click your bump texture which will open the material properties on the right. From here you’ll be able to adjust the scale and height of your texture to better fit your needs.
4. Add the Second Texture
Once you’re happy with the first bump texture appearance, let’s add the second texture. Typically, you cannot add more than one bump map to a material. However, with the Material Graph, you can.
Right-click in the Material Graph Work Area again and from the Textures flyout menu, choose another texture node, like Scratches. Now, if you try to connect that texture to the same Bump node, it replaces the other. That’s definitely not what you want.
5. Add the Bump Add Utility Node
To combine, or layer, both textures use a Bump Add utility node. To add, right-click the Material Graph Work Area and choose Bump Add from the Utility node flyout menu or right-click the Noise texture’s connector line and choose Bump Add. The Noise texture will now be connected to the Bump 1 input.

Attach the output of the Scratches node to the Bump 2 input of the Bump Add node. Adjust your new texture to your liking using the Bump Add node to decide the ratio and weight of each bump map. You can stack as many bump maps as you’d like simply by adding more Bump Add nodes.
This is just one example of how you can use the KeyShot Material Graph to create amazing and advanced materials. You can learn more about the Material Graph in the KeyShot manual. And don’t miss our webinar where we go into more detail on advanced material creation using the KeyShot Material Graph.


