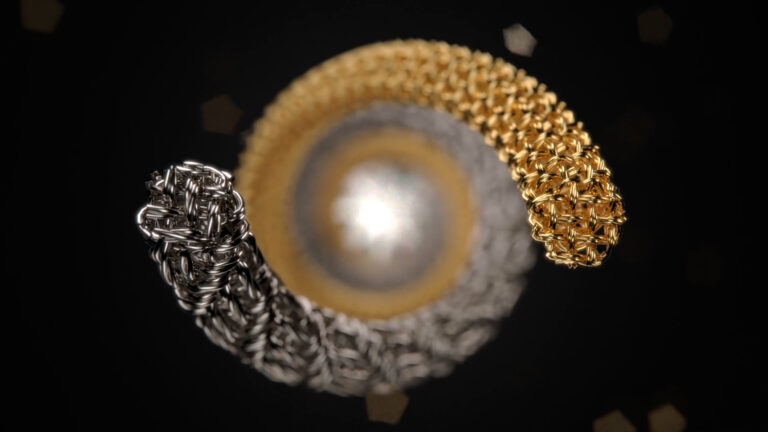
Create Floating Dust in KeyShot
With KeyShot, you can easily create a floating dust effect by enveloping your scene with basic geometry that has Flakes added using the KeyShot Pro Material Graph. You can make it as dense or as subtle as you like to add just the right level of atmosphere. To get started, open your scene in KeyShot. Now, let’s get into it.
1. Add Basic Geometry
First, add a piece of geometry from the Library, Model tab. A cube works well but a cylinder or sphere could be used also. Scale the geometry so it envelopes the scene in your Camera View (just as you would when creating fog with scattering medium). This is going to be the substrate for the floating dust.
2. Apply Material
With your cube at proper scale, change the material to something that mimics dust particles as closely as possible. A transparent or cloudy plastic works well, but there are a variety of materials that can be used for dust. A transparent material works well since light passes and bends through the particles making it less likely to have strange reflections or shadows. When particles are not transparent, unlit areas may look too dark. Once you have your material set, it’s time to add the flake geometry.
3. Add Flake Geometry
Double-click the cube to display the Material Properties, then open the Material Graph. Right-click the workspace and select Geometry, then Flakes, from the menu. Attach the new node to the Geometry input of your parent material. Now hit Execute Geometry Node (at the bottom of the Flake Properties) to see how the flakes look.
4. Adjust Flakes Properties
At this point, adjust the Flakes Size and Density to decrease the flake’s visibility and make them seem more like floating specks. The amount to adjust each parameter will depend on personal preferences, so adjust them until you have a size and density you feel works best for your specific scene.
5. Add Depth of Field
The particles may not feel quite like dust, so in the Project Window, select the Camera tab and check the Depth of Field option. This will blur the particles slightly. A little goes a long way, so start small, particularly if you don’t want a visible depth of field. Adjust the settings so the entire scene is in focus but with enough depth of field that the flakes are blurred and appear more like floating dust.
This trick is also a great way to add snow to your renderings and, if you add a little motion blur, you can even use this method to create rain effects in your KeyShot scenes. You can learn more about the Material Graph and Flakes in the KeyShot Manual. If you’re interested in trying KeyShot Pro, just visit portal.keyshot.com/try/keyshot.
What Can You Create?
We would love to see what you create with this tip. Visit the KeyShot Amazing Shots forum to see what others are creating and share your own work. And if you have a suggestion for another tip share it in the comments below.


