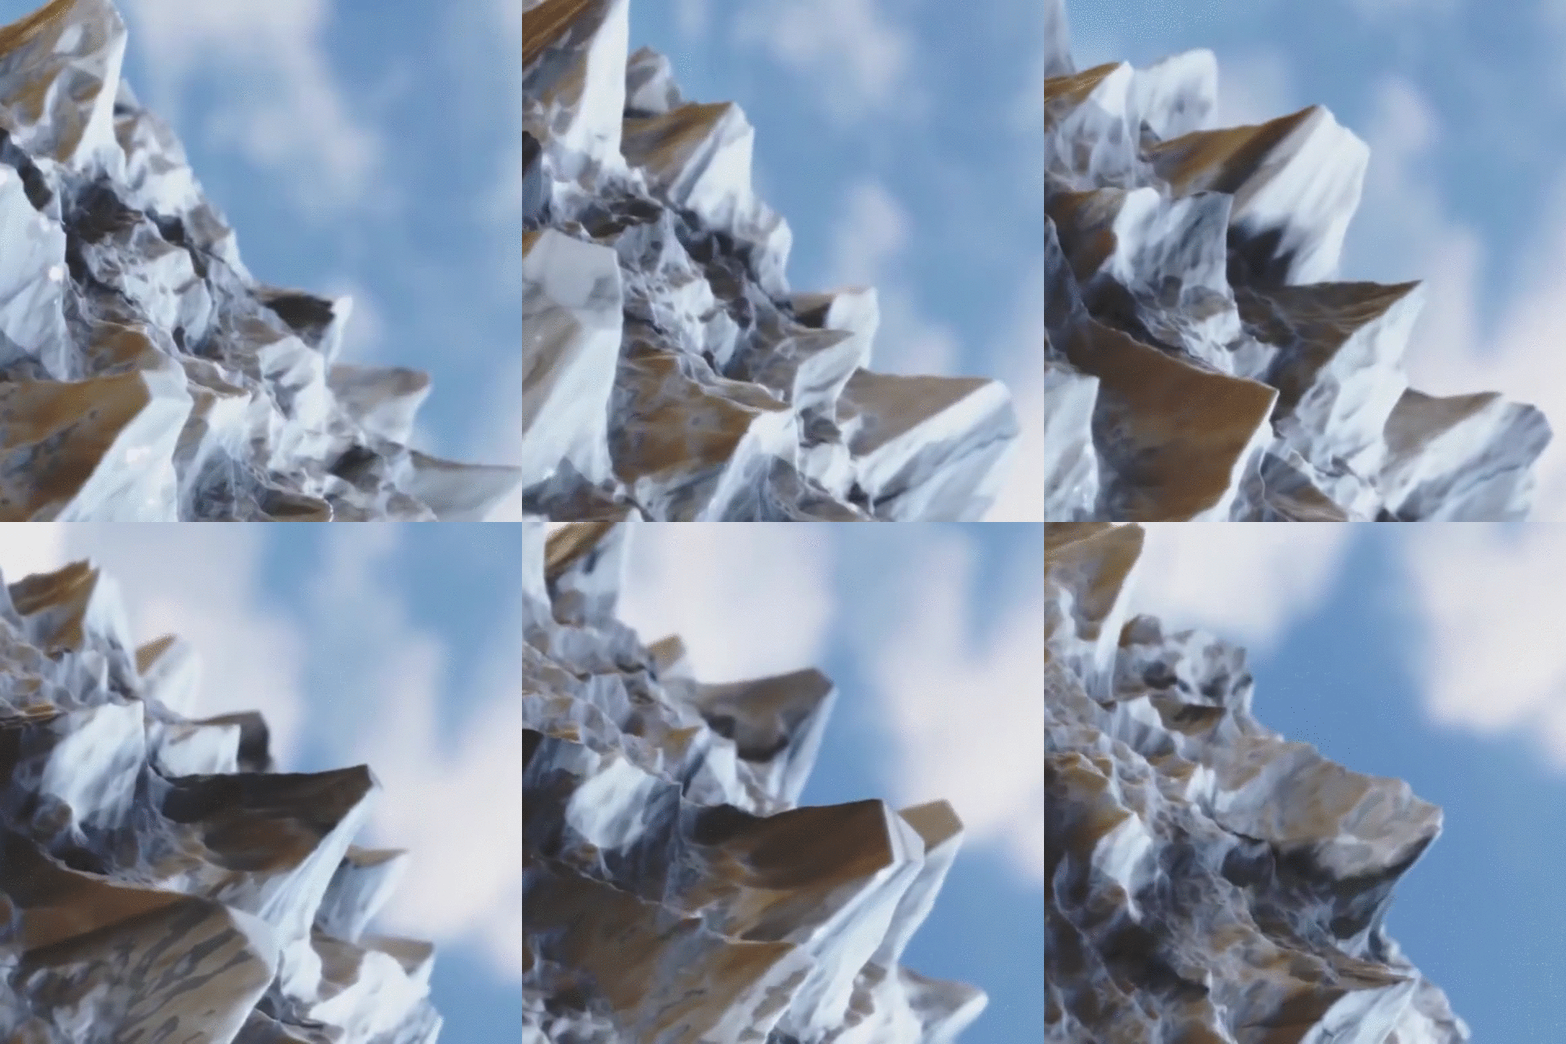
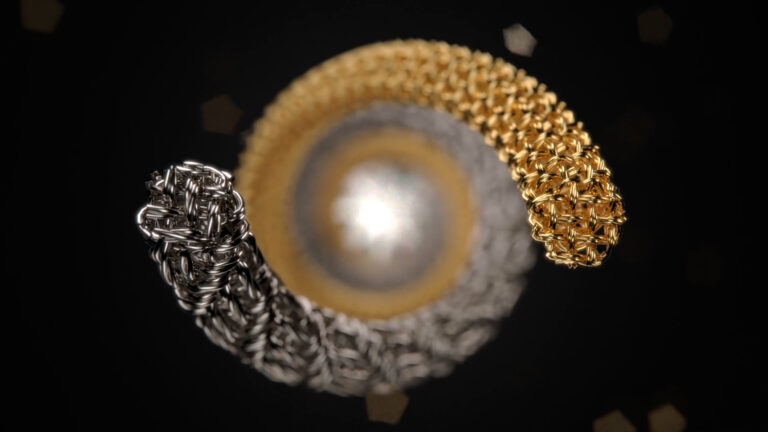
Displacement is a very powerful tool. It allows you to transform the surface geometry of your object and take your renders to the next level of detail and realism. Here’s how to bring it to life with animation.
Displacement Geometry Animation

1. Add Your Model to the Scene
For this Quick Tip, we’ll use a simple plane from the KeyShot Model Library. In the KeyShot Library window, select the Model tab, then double-click the Plane model to add it to your scene.
2. Prepare Your Animated Displacement Map
You’ll need a video file or image sequence of the effect you’d like to use as a displacement map. A 4K animated cell pattern was created within After Effects for this example. You can download this file in the link below if you would like to use it for yourself.
3. Use the Material Graph to Add the Nodes
Double-click your object to display the Material tab, then select Material Graph. Right click to select and add a Displace node from the Geometry menu. Right click again, select Texture and add a Video Map node. When this is added, you’ll see it appear in the Animation Timeline (Window, Animation or select the A-key to display the Animation Timeline).
Note: The Material Graph is available with KeyShot Pro.
4. Import Your Video
Double-click the Video Map node to open the Video Map Properties. You will need to import your video by clicking the folder next to the Frames list window. Navigate to the video file location and select Open. If you created a PNG or JPG sequence, you can import those images as well. KeyShot will automatically convert a video file into your choice of a PNG or JPG sequence and place the images into your specified location.
5. Connect Nodes and Execute Geometry
Once your frames are imported, make sure your video map is selected and hit “C” on the keyboard to preview the color of the video map in the Real-time View. From there you can adjust the location and scale to your liking. Hit “C” on the keyboard again to exit color preview mode. Connect the Video Map node to the Displace node, and the Displace node to the object’s Geometry connector. Make any height adjustments needed within the Displace Properties then select Execute Geometry Node to generate your results. You can also apply texture maps to this geometry for added customization.
If you scrub the Animation Timeline, you won’t see the animated displacement, since the geometry needs re-execute at each frame to keep your machine from bogging down. A quick way to preview your results is to select Preview at the end of the Animation Timeline menu.
And that’s it! We would love to see what you create with this tip. Visit the KeyShot Amazing Shots community forum to see what others are creating and share your own work. And if you have a suggestion for another tip share it the comments below.
Need KeyShot Pro? Check it out here.


