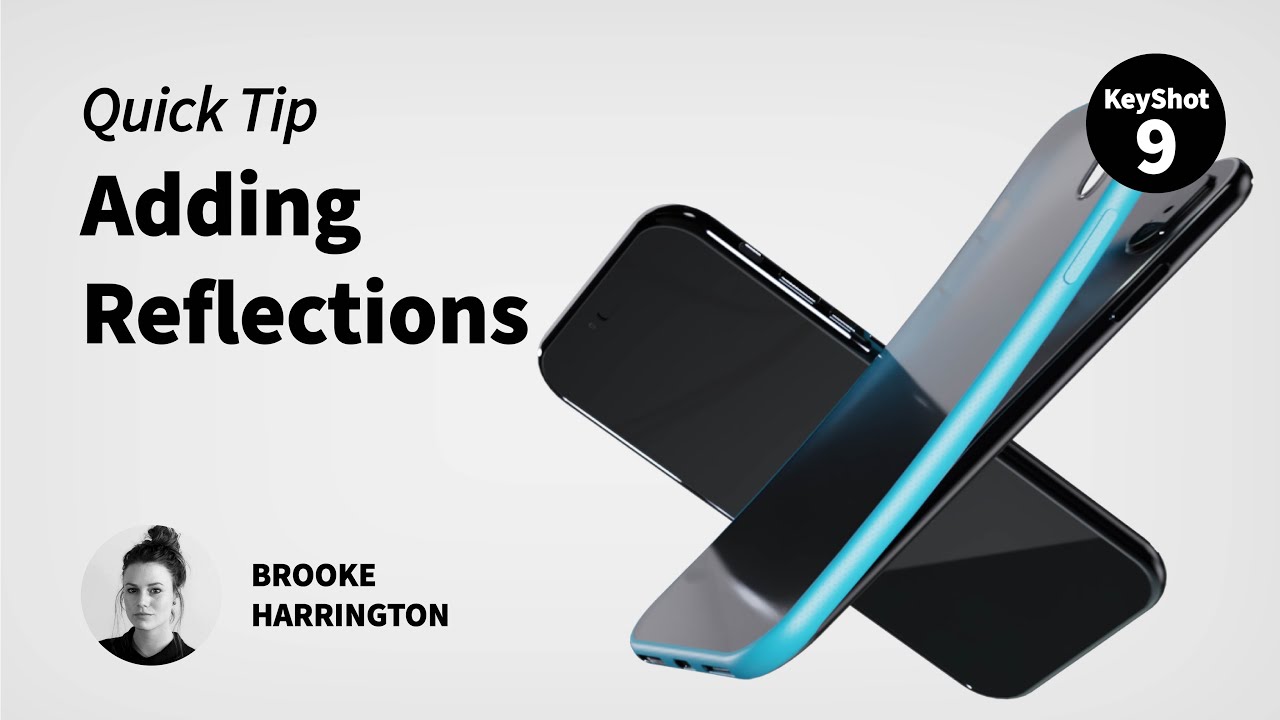
Reflections add a sense of depth and realism to your product shots and they are extremely easy to add in KeyShot. Here, we’ll look at tow techniques showing you how to control light reflections using geometry and an emissive material or through the HDRI Editor in KeyShot Pro.
Adding Reflections in KeyShot
Reflections in KeyShot are a natural occurrence of the environment or physical lighting in a scene. When more control and/or a specific style of light reflection is desired, you can use two techniques to gain complete control over the appearance of your reflections. Let’s see how to quickly set them up.
This mobile phone model used in the video is available for download on KeyShot Cloud. For your reference, the material on this display is a solid glass and is ideal for a beautiful, reflective surface.
1. Using the HDRI Editor
Our first technique makes use of capabilities in KeyShot Pro. The HDRI Editor, which is found in the Environment tab of the Project panel allows you to set up and control individual lights (pins) for a variety of reflection options.
To start, it’s recommended to switch the background of this startup environment to Color and select a dark gray. In the Real-time View, you will see the light is now gone, so we’ll bring that back by adding in some Pins.
Select Add Pin, switch it to Rectangular, and then click the Half checkbox. As you move the pin you’ll see the lighting and the reflection update in real time. Angle the pin and reposition it to the top right corner of your model. Now, with most reflections, there’s a slight falloff, which can be adjusted with the Falloff slider. Anytime you update the HDRI Editor settings, refresh the HDRI by clicking the icon in the upper right of the Real-time View to view your changes in full resolution.
Those are the basics of reflections using the HDRI Editor, which is a really great option in many cases, but let’s move on to the second technique, using actual geometry to create reflections.
2. Using Geometry and an Emissive Material
Our second technique will use a simple plane with an emissive material applied to it. First, add a plane either from the Model tab or from Edit, Add Geometry, Plane. Double-click the surface of the plane and set its Material Type to Emissive, then change the Color to white. It’s important to also uncheck Visible to Camera. Open the Geometry View (O-key) and adjust the position of this plane to have a slight reflection on the surface.
You can adjust the intensity of this emissive plane and of course change the color, but the true benefit of using geometry for reflections is that it’s easy to control separately from the HDRI. For example, you may have a situation where you want to add reflections but additional pins within the HDRI have an undesired effect on the overall lighting of your scene. That’s when you could use geometry instead. It’s also a great option that provides consistent reflections that are easy to manipulate across different camera angles or part positions.
As you can see, reflections are extremely easy to add and control in KeyShot using simple geometry or the HDRI Editor in KeyShot Pro. To learn more about Emissives or the HDRI Editor visit the KeyShot manual.
What Can You Create?
We would love to see what you create with this tip. Visit the KeyShot Amazing Shots forum to see what others are creating and share your own work. And if you have a suggestion for another tip share it in the comments below.


