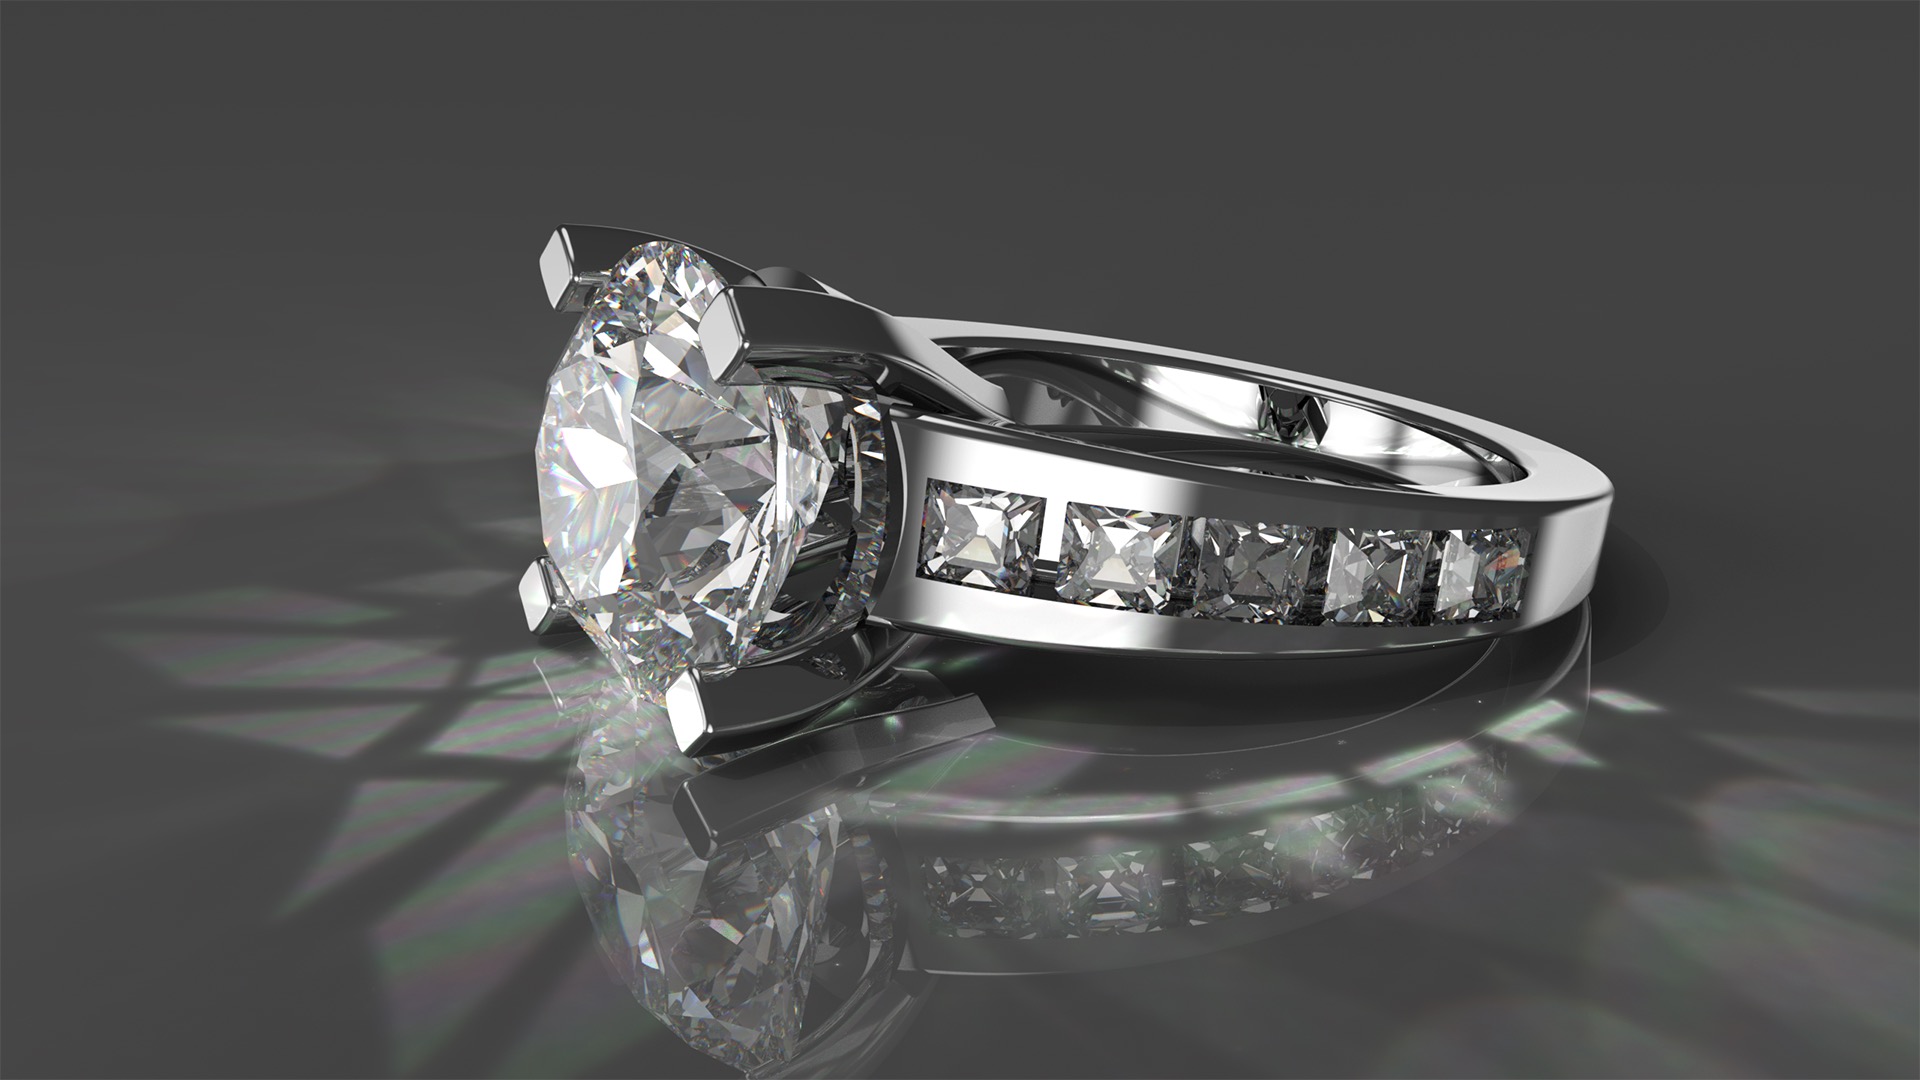
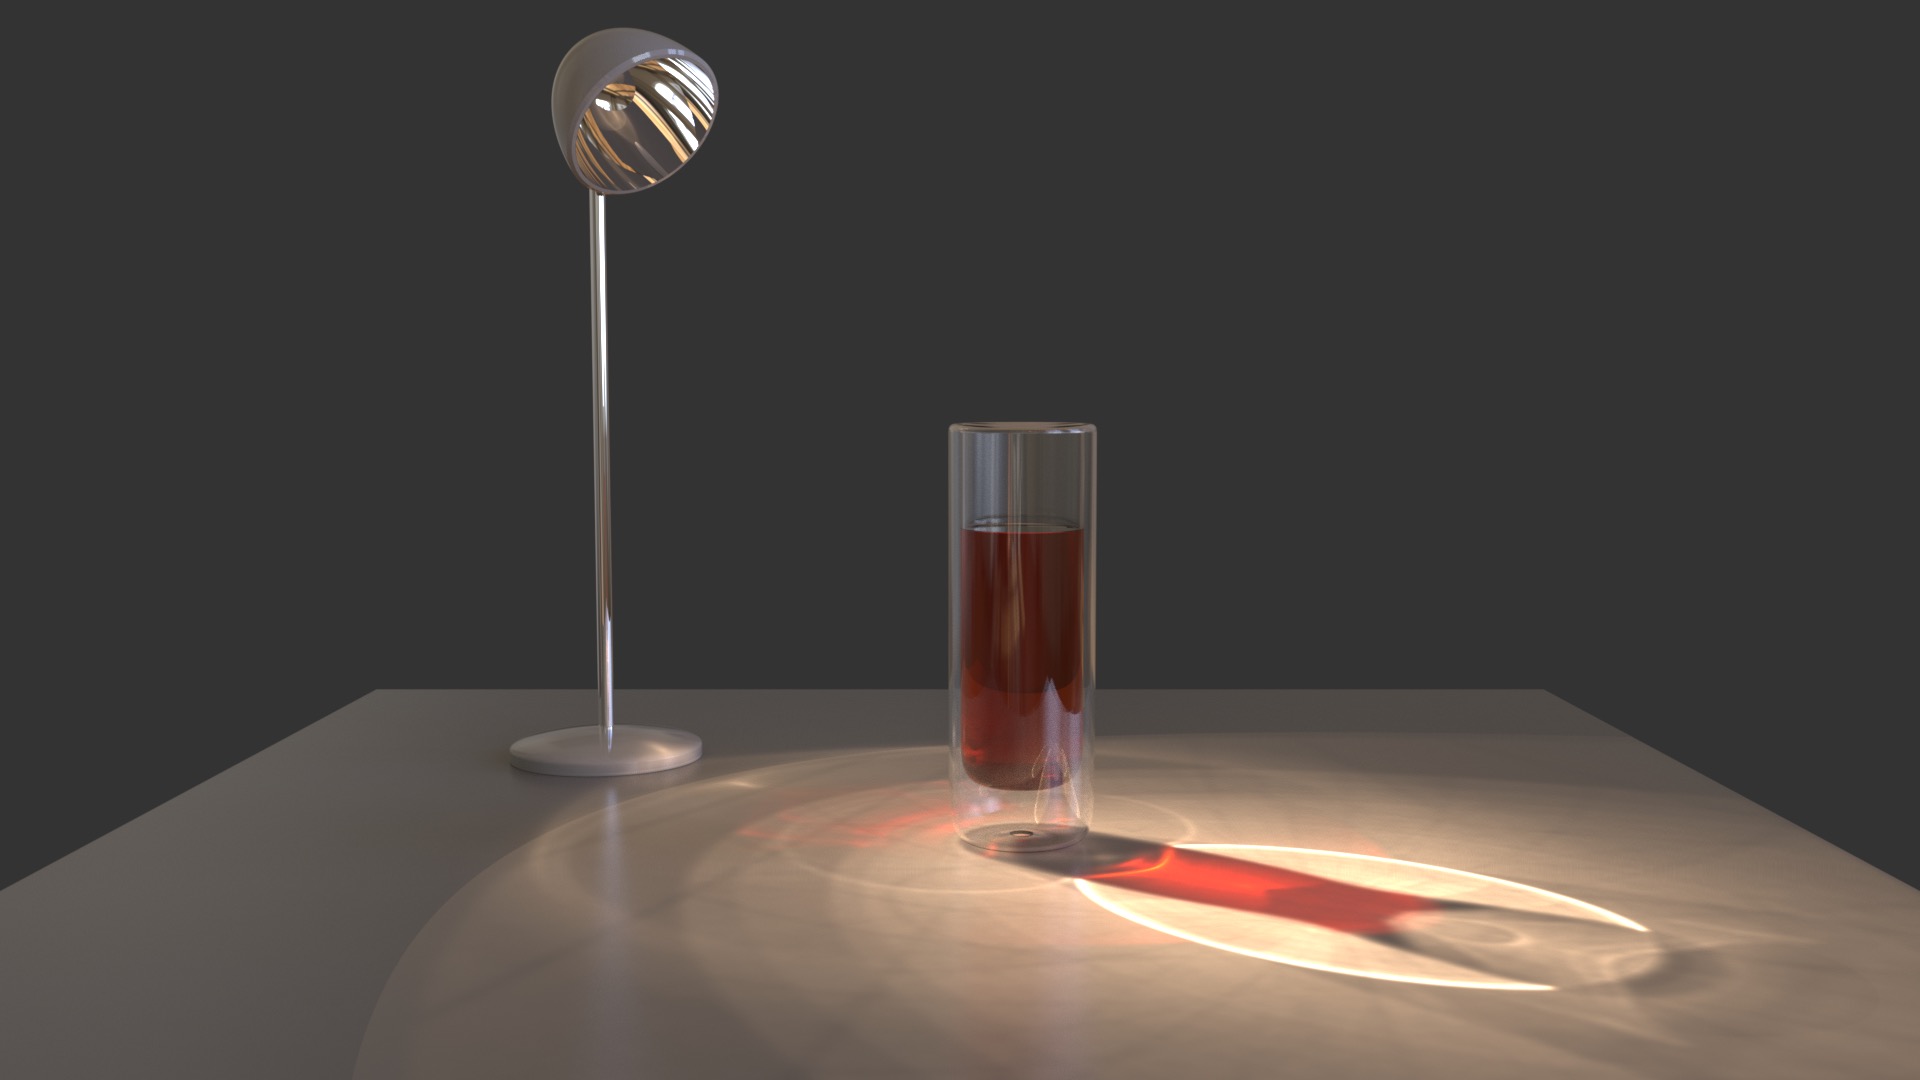
When you set out to create a realistic rendering, referencing real life objects, environments and lighting is a great way to ensure your results are accurate. One naturally occurring phenomenon to be aware of is caustics: concentrated light rays from highly reflective or refractive materials. For example, the patterns of light from a wine glass on white table cloth, or the moving light patterns on the bottom of a swimming pool on a sunny day, are caustics.
While not necessary for all renderings, caustics add a lot of realism to certain scenes containing glass, liquids, gems, and shiny metals. If you feel like caustics are tricky to set up, we’ve put together a scene and five important things to remember to achieve the best results possible.
5 Steps to Getting Great Caustics in KeyShot
There are five main elements to consider when trying to achieve caustics in your scene:
- Ensure Accurate Model Detail
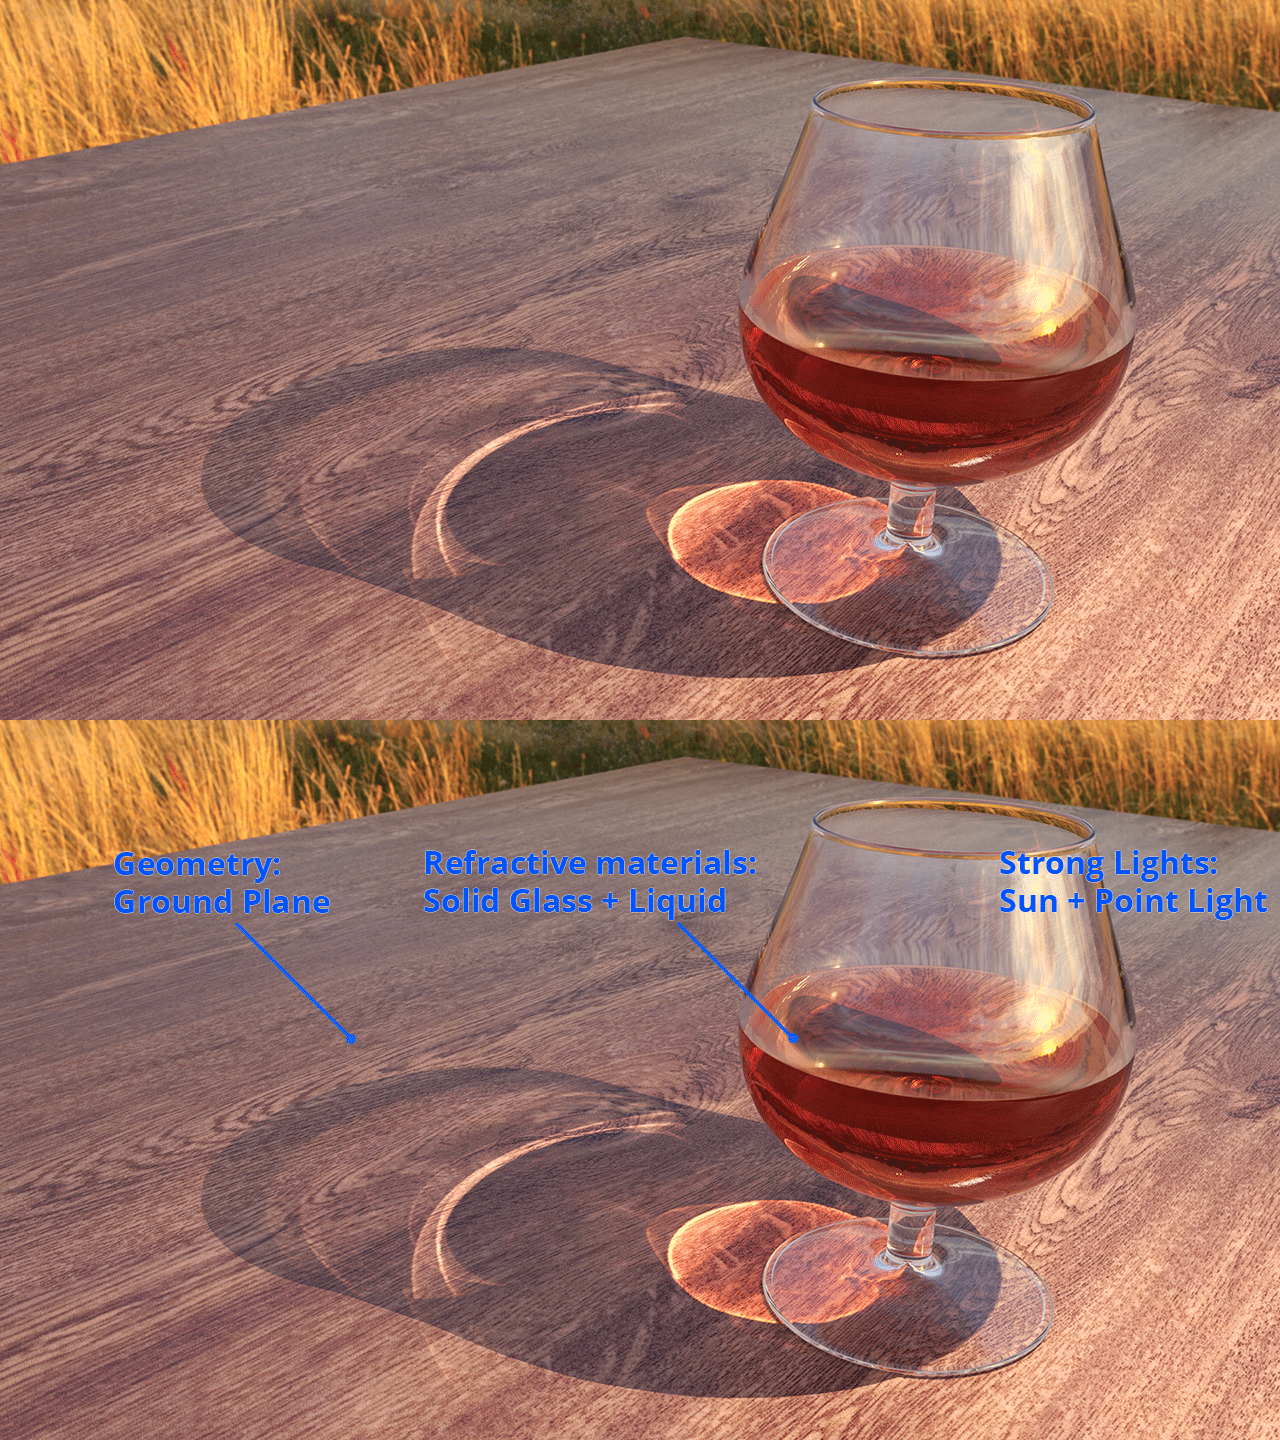
- Apply Refractive/Reflective Materials
- Set Strong Light Sources
- Add Caustics-catching Geometry
- Use Correct Lighting Preset
Let’s dive into these steps in detail in order to identify best practices.
1. Ensure Accurate Model Detail
First, make sure your geometry is modeled using real dimensions with accurate details. Precision in your models is important: sharp edges for gems, wall thickness for clear parts, and 1:1 representation of size/scale. The more detail you have in your model the more accurate (and interesting!) your results with caustics will be. You can always reference our Liquids & Glass tip for a great model setup example.
2. Apply Refractive/Reflective Materials
Use refractive materials for your clear parts (Solid Glass, Liquid, Gem, Dielectric) with correct Index of Refraction (IoR) values in order to replicate the true material properties. IoR is a real life unit of measure, so reference those values to get the most accurate results. Most KeyShot materials include an IoR value that’s true to life, and you can find a list of other IOR values here.
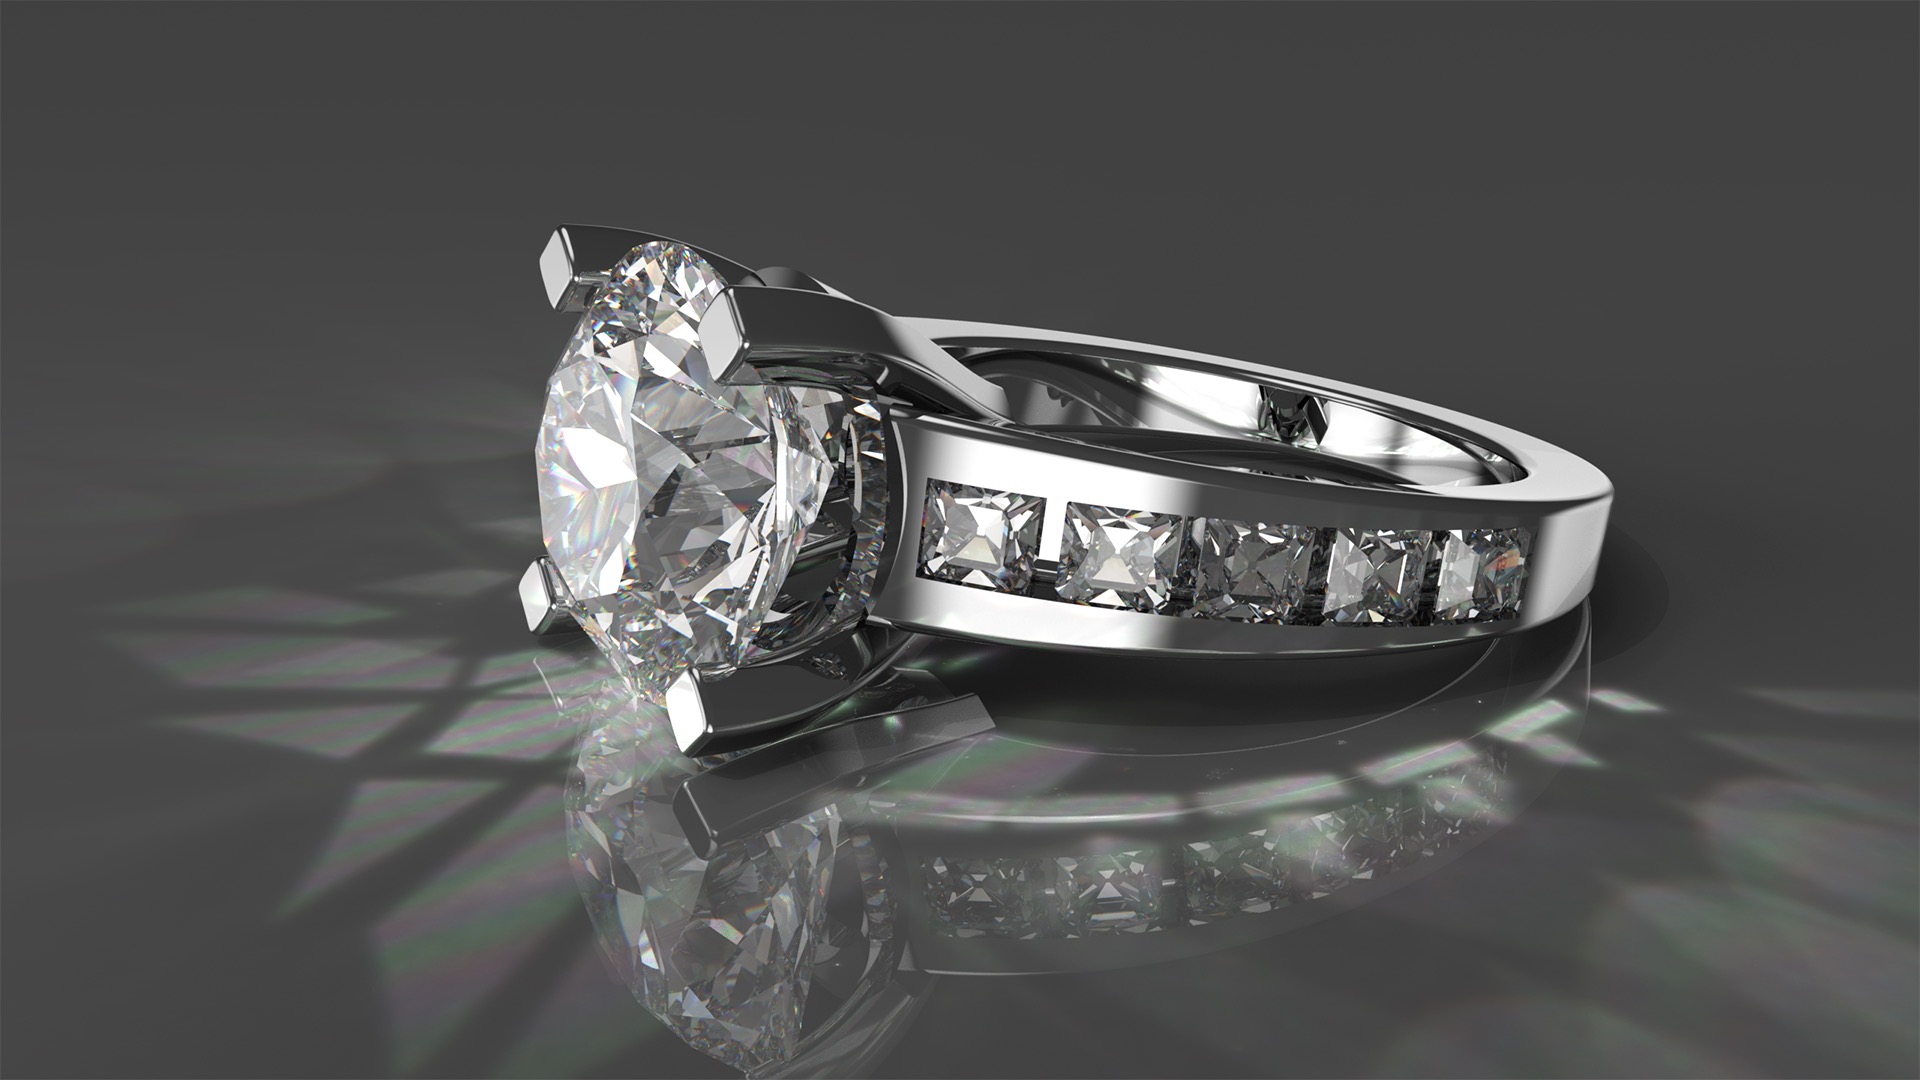
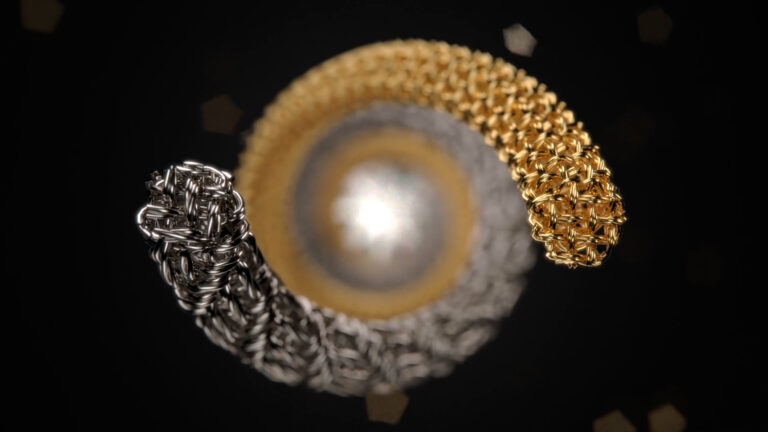
When working with gems and dispersive materials, the ABBE number will define the amount of color dispersion in your material. Material presets in the KeyShot Library, such as Diamond, will include the correct ABBE value. Smaller values tend to show more dispersion, higher values will create less dispersion.
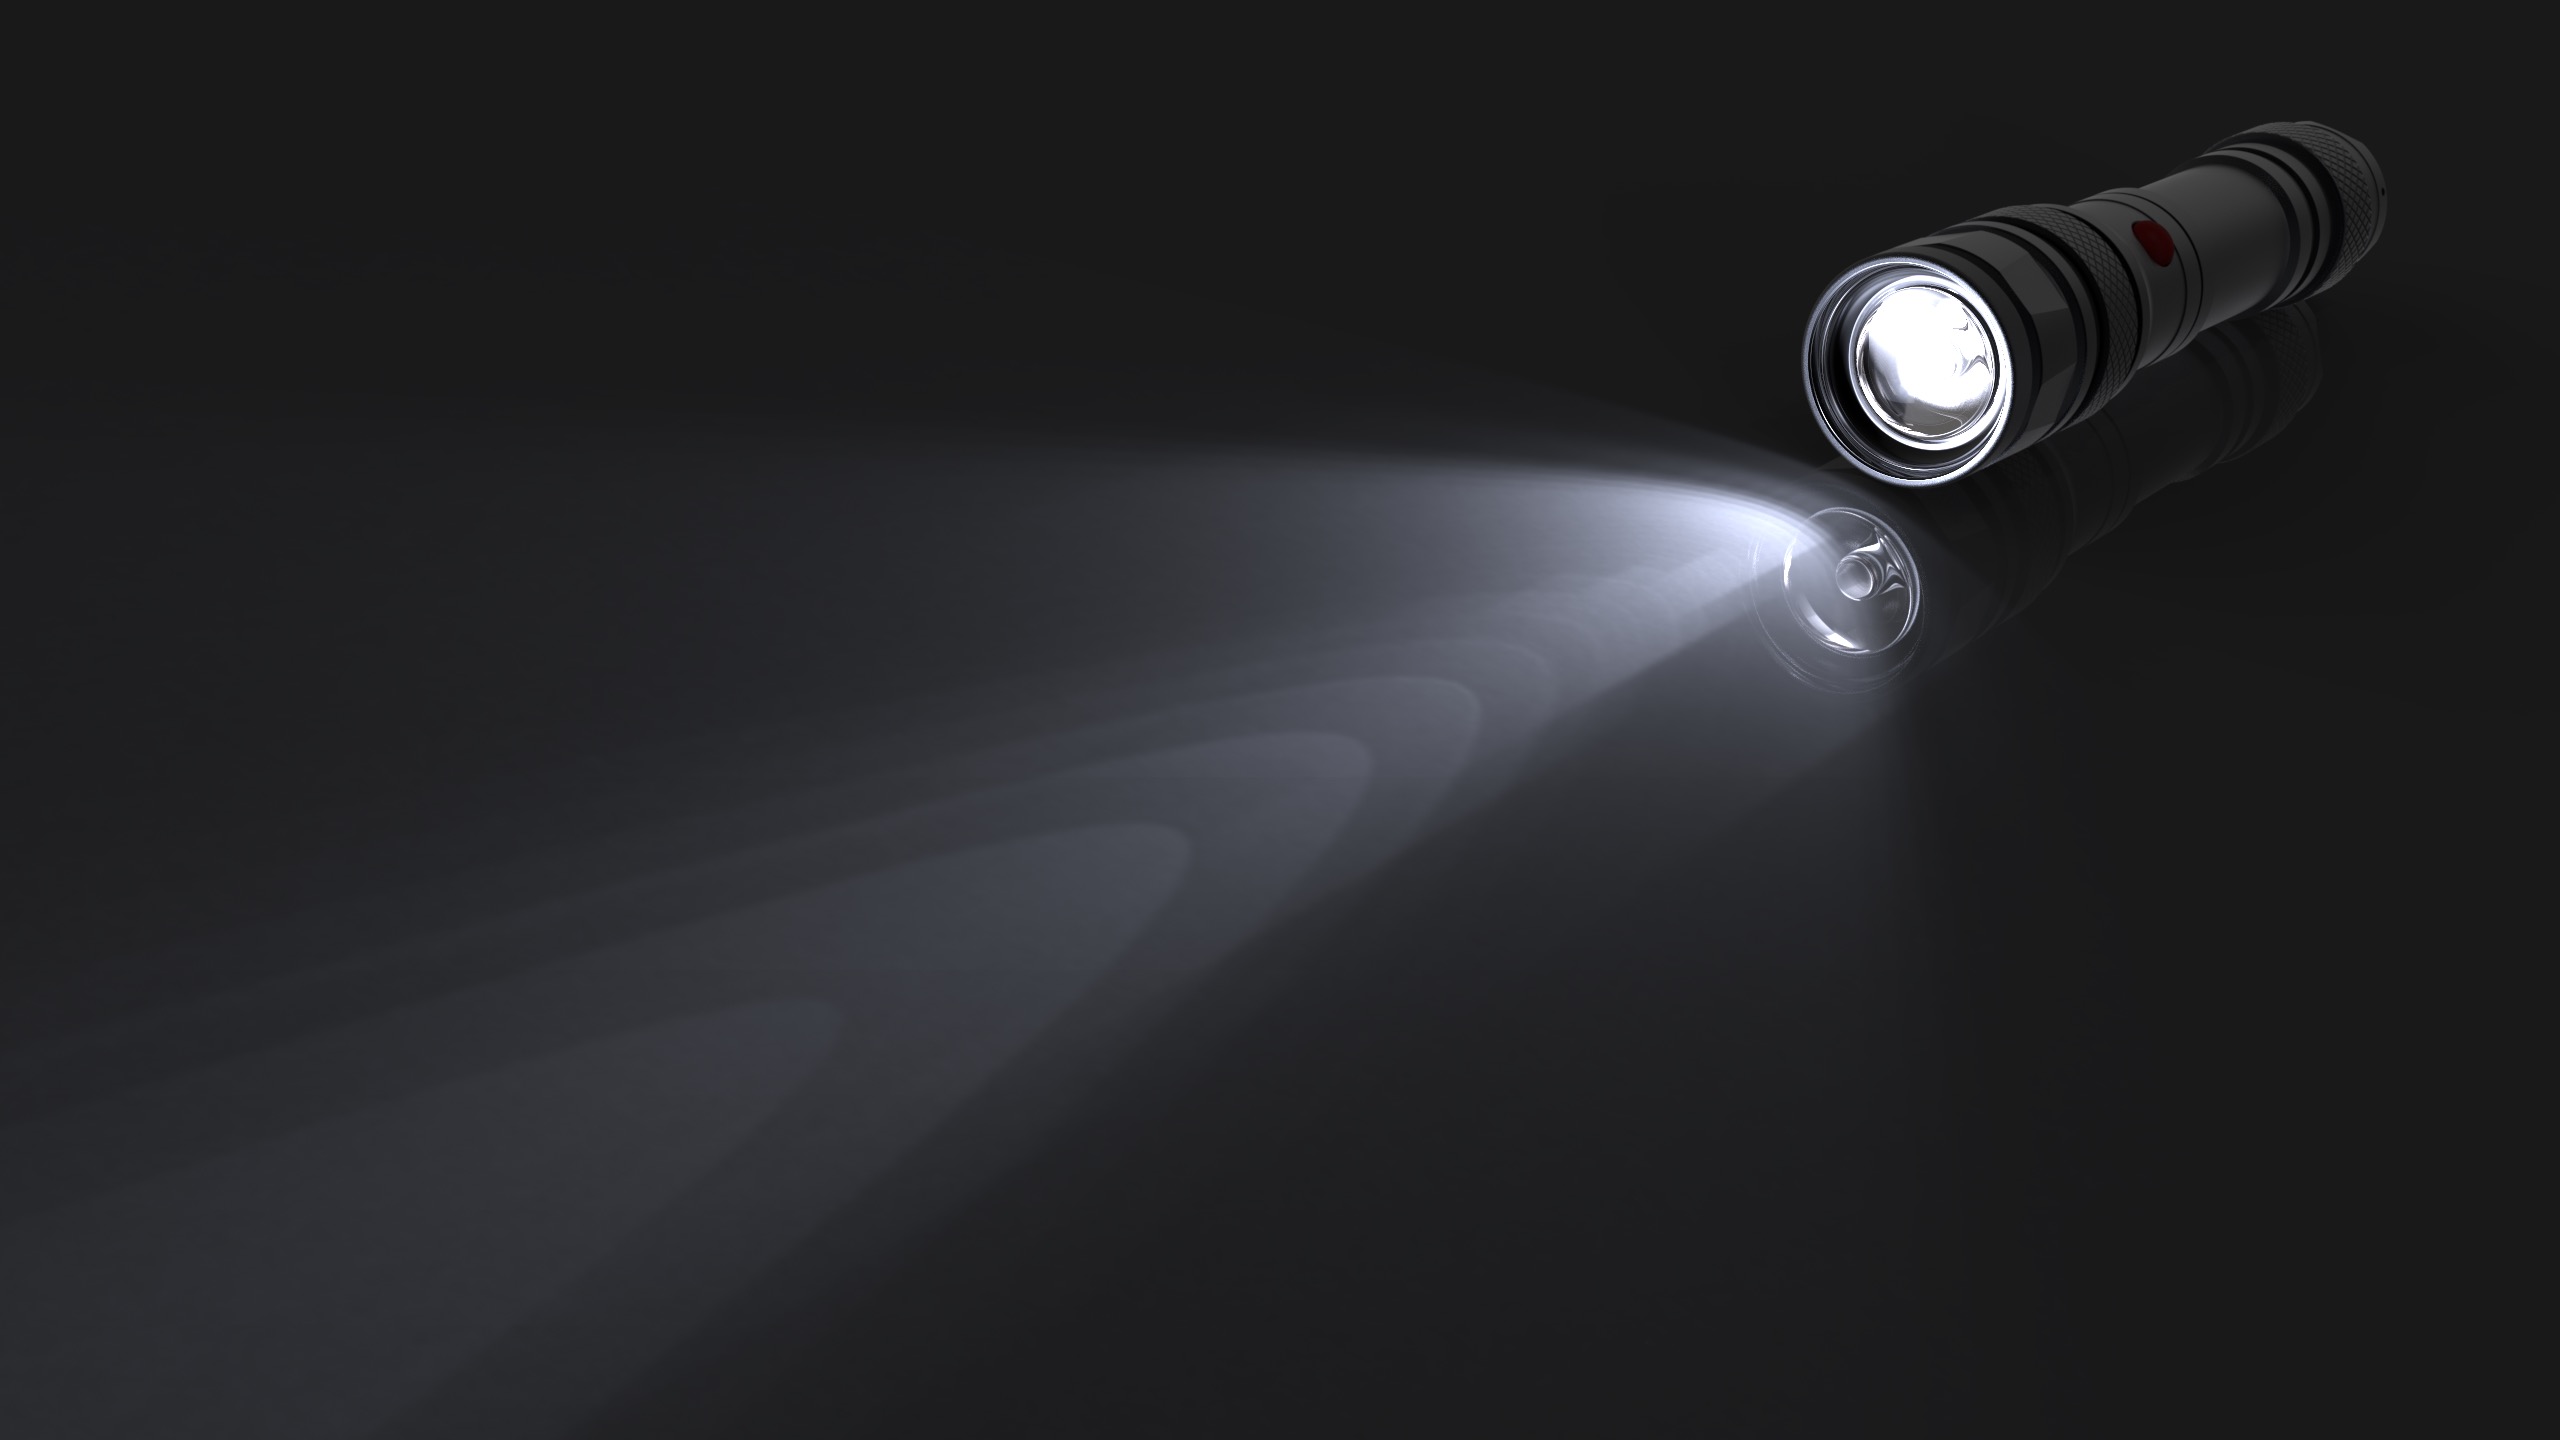
Metal materials can also be used to achieve caustics; smooth surfaces with no roughness show the results much better. For example, flashlights usually have a smooth, chrome reflector that helps concentrate the light beam–we can recreate this easily in KeyShot.
3. Set Strong Light Source
Caustics will be most apparent when you have either a strong light source in your HDRI or when a local/physical light is applied to geometry in the scene.
When using an HDRI to provide the lighting, look for environments that have a very bright light source (like the sun). Compare the real life results of a wine glass outside on a sunny day versus a cloudy day; bright light will make caustics much more apparent.
When using local/physical lights, the best results are seen when using a Point Light or IES profile. Concentrated light sources tend to create focused light beams, so these two light types are perfect as light sources when trying to achieve caustics.
4. Add Caustics-catching Geometry
In order to see the full result of the caustics in your scene, always use a piece of geometry to “catch” the caustics and make them visible. This can be as quick as adding a simple ground plane (Edit > Add Geometry > Ground Plane), or creating a plane or box in your 3D modeling application to act as the ground. Remember, caustics show up best on non-metal materials and materials that are not too light or too dark.
5. Use Correct Lighting Presets
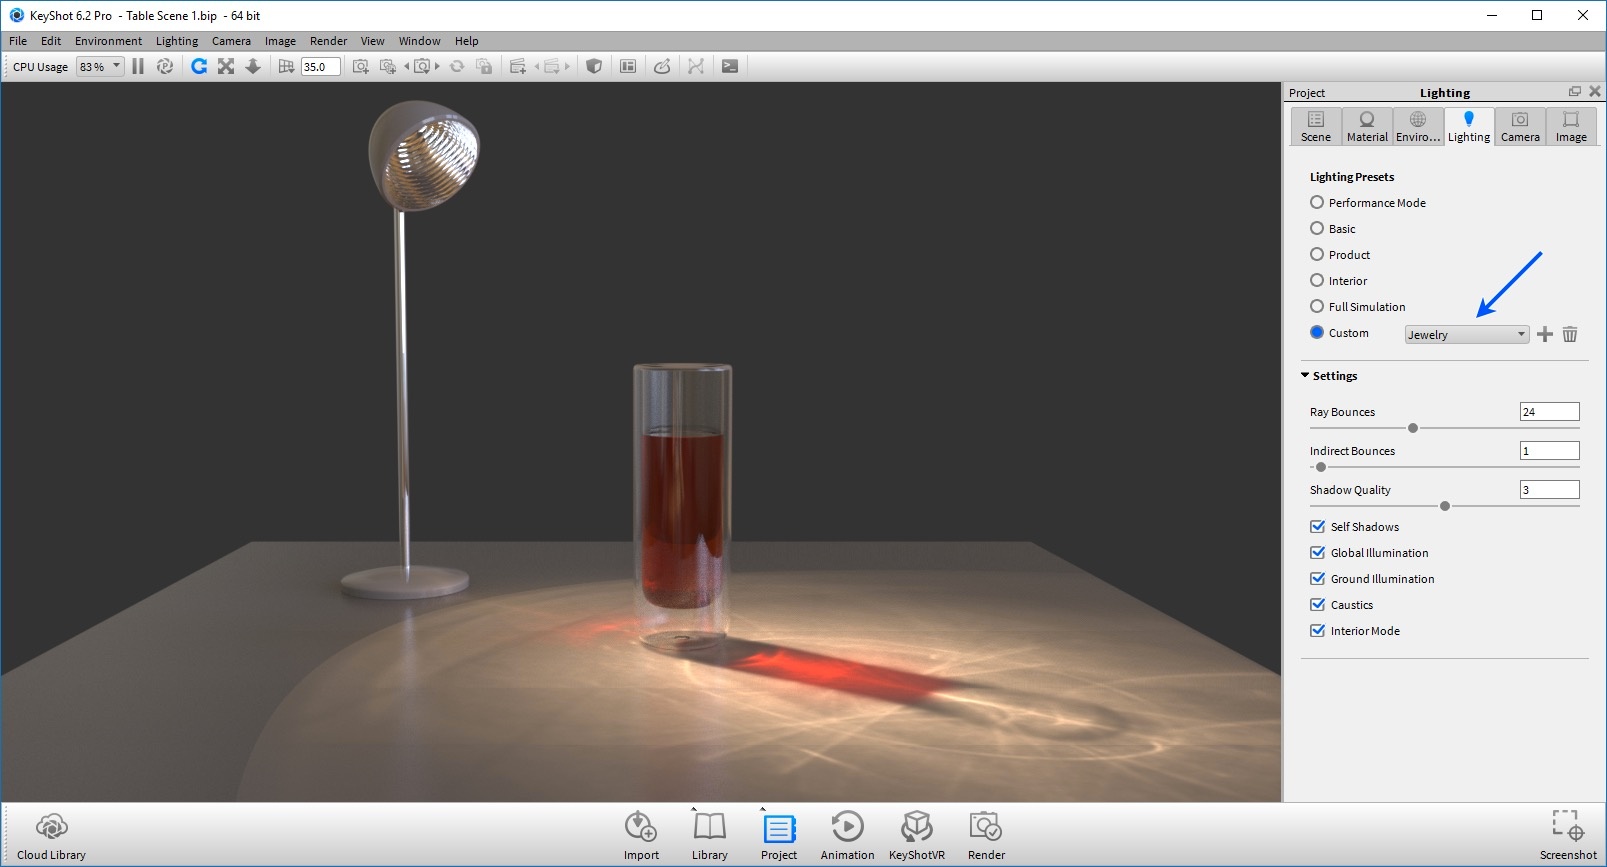
Once you’ve set up your model, materials, light source, and ground, it’s up to KeyShot’s Lighting Presets to get the final results. Ensure you have the Caustics checkbox enabled under the Lighting tab in the Project window. The Interior lighting mode preset is also recommended for achieving the best results for caustics.
Another quick way to get great results is to use the Jewelry lighting mode preset. This preset already has high ray bounces, increased shadow quality, Global Illumination, Caustics, and Interior mode enabled.
Render your image using Maximum Samples or Maximum Time, since it will give you better results than Advanced Control. Interior Mode is only available for Max Samples/Max Time, so KeyShot will prompt you to use either.
You can download the tabletop scene below to try on your own–all materials and settings have been applied. Have a great caustics render example created in KeyShot? Visit and share on the KeyShot Amazing Shots forum!
Hands-on KeyShot Training
Interested in learning more about KeyShot? Contact us for information on our training that covers everything from KeyShot Basics to Advanced Workflow, Material Creation and more.
Contact Us


